
Are you looking to give your feathered friend the ultimate bathing experience? A parrot shower perch might be just what you need.
This simple addition can transform bath time from a chaotic splash-fest into a fun and enjoyable routine for both you and your pet. Imagine the convenience of a perch that keeps your parrot comfortable and relaxed, all while ensuring your bathroom stays tidy.
In this guide, you’ll discover how to make a parrot shower perch that’s not only easy to build but also safe and sturdy. Get ready to enhance your parrot’s bath time and deepen your bond with your avian companion. Keep reading to learn the step-by-step process and make bath time the highlight of your parrot’s day!

Credit: www.northernparrots.com
Materials Needed
Gathering the right materials is the first step to making a perfect parrot shower perch. The materials must be safe and durable. They should resist water and not harm your bird. Choosing proper items ensures the perch lasts long and stays secure during showers.
Focus on materials that are easy to clean and sturdy enough to hold your parrot comfortably. Simple materials can create a functional and safe perch.
Wooden Dowels
- Natural, untreated hardwood dowels are best
- Diameter should be 1 to 2 inches for grip
- Length depends on the shower size and bird comfort
Rust-resistant Screws And Hooks
- Stainless steel screws prevent rust in moist areas
- Hooks help hang the perch securely in the shower
- Choose sizes strong enough to support your bird’s weight
Non-toxic Waterproof Sealant
- Protects wood from water damage
- Must be safe for birds and free from harmful chemicals
- Ensures longer life for the perch
Silicone Suction Cups
- Secure the perch to shower walls or glass
- Strong enough to hold the perch without slipping
- Easy to remove and clean
Sandpaper
- Smoothes rough edges on wood
- Prevents splinters that can hurt your bird
- Use medium to fine grit for best results
Choosing Safe Wood
Choosing the right wood for your parrot’s shower perch is crucial for both safety and durability. Not all wood types are safe for birds, as some can be toxic or splinter easily, putting your feathered friend at risk. You want wood that is sturdy, non-toxic, and able to withstand moisture without rotting.
Types Of Safe Wood For Parrot Perches
Hardwoods like maple, oak, and ash are excellent choices because they are strong and durable. These woods resist moisture better and are less likely to splinter, which protects your parrot’s feet. Avoid softwoods such as pine or cedar, as they can release harmful oils or resin.
How To Identify Untreated Wood
Always use untreated wood to prevent exposure to chemicals that can harm your parrot. Pressure-treated or painted wood should be avoided entirely. When buying wood, ask your supplier if the wood is untreated or look for natural wood without any coatings or finishes.
Preparing Wood For Your Parrot’s Safety
Once you select your wood, sand it down thoroughly to remove any rough edges or splinters. This step is vital to avoid injuries to your parrot’s feet and beak. Washing the wood with warm water and allowing it to dry completely helps remove dust and contaminants.
How Moisture Resistance Affects Wood Choice
Your shower perch will be exposed to water regularly, so moisture resistance is key. Woods like manzanita and eucalyptus handle moisture well and are less likely to warp or crack. Think about how often you clean the perch and how the wood will hold up over time.
Have you ever noticed your parrot chewing on their perch? Choosing wood that is both safe and durable means you won’t have to worry about harmful toxins or frequent replacements. Taking time here ensures your parrot enjoys a safe, comfortable spot during bath time.
Step-by-step Construction
Building a parrot shower perch yourself lets you create a safe, comfortable space for your bird to enjoy bath time. The process is straightforward and rewarding, especially when you see your parrot happily perched during showers. You don’t need advanced skills—just a few tools, some materials, and clear instructions.
Gathering Materials And Tools
Start by collecting everything you’ll need. Choose untreated hardwood for the perch since it’s safe for birds and won’t splinter easily. You’ll also need suction cups with hooks, stainless steel screws, a drill, sandpaper, and a saw.
Think about the size of your parrot. Larger birds need thicker perches for comfort, while smaller ones prefer thinner bars. Have multiple sizes of sandpaper to smooth the wood perfectly—rough edges can hurt your bird’s feet.
Cutting And Preparing The Wood
Cut the wood into a comfortable perch length—around 12 to 18 inches works well for most parrots. Use the saw carefully to ensure clean, straight cuts. After cutting, sand the entire surface thoroughly.
Check the wood for any sharp spots or splinters by running your fingers along it. If you feel roughness, keep sanding. Your parrot’s safety depends on smooth, snag-free wood.
Attaching Suction Cups Securely
Attach the suction cups at each end of the perch using the screws and a drill. Make sure the screws are tight but don’t crack the wood. Position the suction cups so they’ll stick firmly to your shower walls.
Test the suction cups before installing the perch—press them against a flat surface and see if they hold strong. You want to avoid the perch falling during your bird’s shower, which could scare or injure them.
Installing And Testing The Perch
Place the perch in your shower at a comfortable height for your parrot. Watch how it holds under your bird’s weight before any water comes on. Adjust the position if needed to keep the perch stable.
Ask yourself: does your bird feel secure when perched? If not, try repositioning or reinforcing the suction cups. A steady perch encourages your parrot to enjoy shower time without stress.
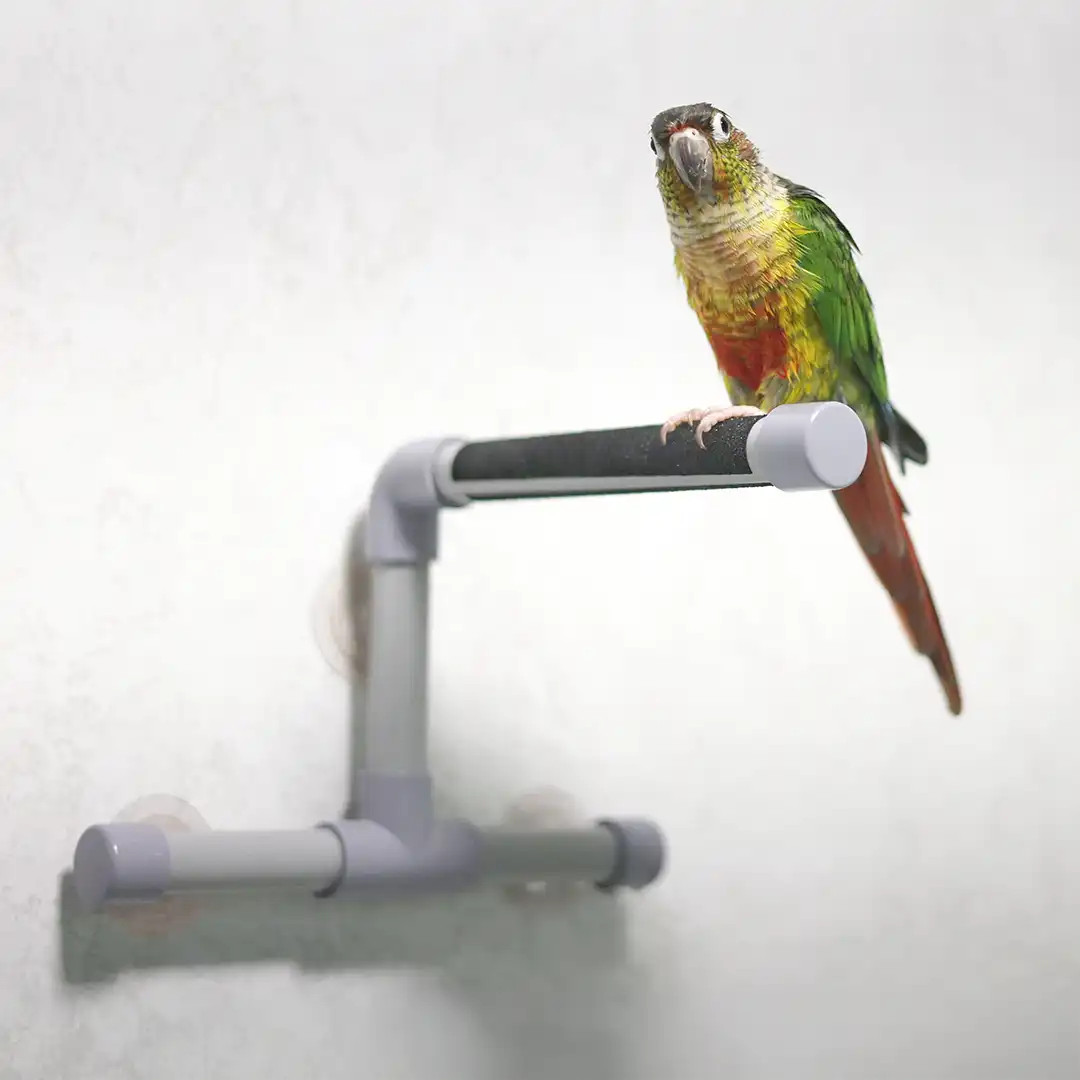
Credit: www.northernparrots.com
Installation And Maintenance Tips
Installing and maintaining a parrot shower perch correctly ensures your feathered friend enjoys bath time safely and comfortably. A well-placed perch encourages your parrot to stay in the shower without slipping or feeling uneasy. At the same time, regular upkeep prevents mold, bacteria, and wear that could harm your bird.
Choosing The Right Spot For Installation
Pick a spot in the shower where your parrot can securely grip without getting sprayed directly by water. Avoid areas with strong water pressure or where the temperature fluctuates too much. A corner or side wall often works best, as it gives your bird a sense of security.
Think about how your parrot moves—can it easily hop on and off the perch? You want the perch low enough for access but high enough to stay dry between showers. Have you noticed your parrot hesitating to jump? That’s a sign to adjust placement.
Securing The Perch Firmly
Use suction cups or mounting brackets designed to hold the perch tightly against the shower wall. If you’ve ever had a perch fall during bath time, you know how startling and unsafe that can be for your bird.
- Test the suction cups by pressing them firmly and wetting the surface for better grip.
- Check for leaks or movement by gently shaking the perch after installation.
- Consider adding a backup safety tether for extra security.
Remember, a loose perch invites accidents. Secure it well and double-check before each shower session.
Cleaning And Maintenance Routine
Clean the perch regularly to prevent buildup of soap scum, bird droppings, and mildew. Use a mild, bird-safe cleaner or a vinegar-water solution to wipe down the perch thoroughly.
- Rinse well to remove all cleaning agents.
- Dry the perch completely before the next use to avoid slippery surfaces.
- Inspect the perch weekly for cracks or wear that could injure your parrot’s feet.
Have you noticed your bird avoiding the perch? It might be time to clean or replace it. A fresh perch invites your parrot back without hesitation.
Monitoring Your Parrot’s Behavior
Watch how your bird interacts with the perch. Are they gripping comfortably, or do they seem uneasy? Adjust the height, position, or even the perch type based on their comfort.
Sometimes, adding a textured grip or wrapping the perch with bird-safe materials can make a big difference. Your parrot’s feedback, even without words, guides you to the best setup.

Credit: norcalcarculture.com
Frequently Asked Questions
What Materials Are Needed For A Parrot Shower Perch?
You need non-toxic wood, stainless steel screws, and waterproof sealant. These materials ensure safety and durability for your parrot’s shower perch.
How Do I Make A Parrot Shower Perch Safe?
Use smooth, untreated wood and avoid sharp edges. Seal the perch with waterproof, bird-safe sealant to prevent mold and damage from moisture.
Can I Customize The Size Of The Shower Perch?
Yes, customize the perch size to fit your bird’s species and shower space. A proper fit ensures comfort and stability during showers.
How Often Should I Clean The Parrot Shower Perch?
Clean the perch weekly with mild soap and water. Regular cleaning prevents bacteria buildup and keeps your parrot healthy.
Conclusion
Making a parrot shower perch is simple and fun. It gives your bird a safe, comfy place to enjoy water time. Using the right materials keeps the perch strong and safe. Small steps and care make a big difference. Your parrot will love this new spot for play and bath.
Try building one yourself and see how happy your bird becomes!