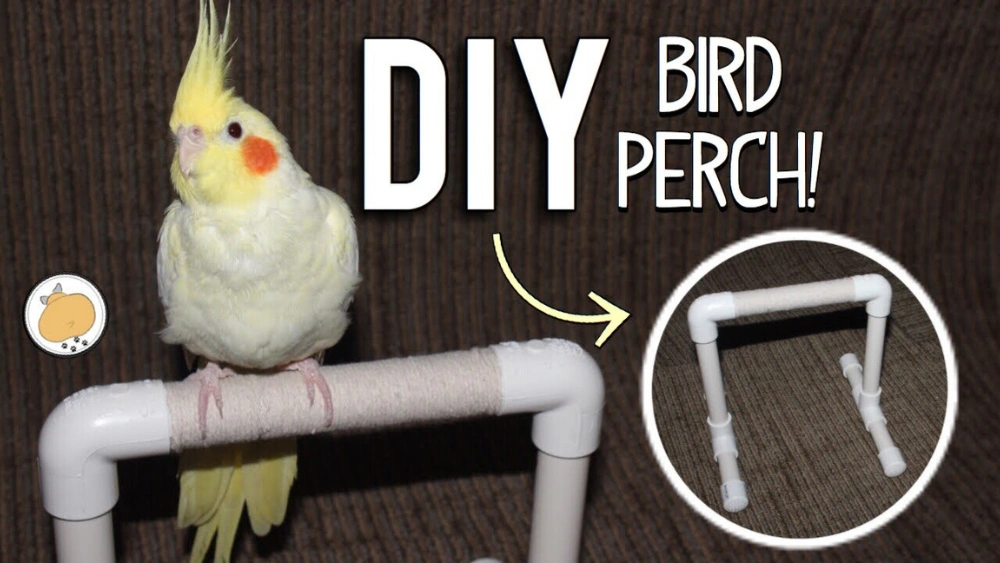
Are you an avid bird lover looking to enhance your feathered friend’s habitat with a personal touch? Imagine seeing your bird perched happily on something crafted by your own hands.
Creating a homemade bird perch not only saves money but also allows you to customize a natural, comfortable space for your bird. You don’t need to be a master craftsman to achieve this; with a few simple materials and steps, you can make a perch that your bird will love.
Ready to discover how you can bring a little more joy into your bird’s life and your own? Let’s dive in and explore how easy and fun it is to make a homemade bird perch!
Credit: freerangeparrots.org
Choosing The Right Materials
Choosing the right materials is crucial when making a homemade bird perch. The safety and comfort of your feathered friend depend on it. Using the wrong wood or tools can lead to health risks or an unstable perch.
Safe Wood Types
Not all wood is safe for birds. Some woods contain toxins that can harm your pet. Opt for untreated, natural woods like:
- Aspen:A popular choice because it’s safe and easy to clean.
- Maple:Durable and non-toxic, perfect for long-lasting perches.
- Apple:Safe and offers a pleasant scent that birds often enjoy.
- Birch:Strong and safe, commonly found in pet stores.
Avoid cedar, pine, or any wood treated with chemicals or paint. These can release harmful fumes or cause poisoning. You want your perch to be a safe resting spot, not a health hazard.
Essential Tools
Having the right tools makes the building process smoother and safer. Basic tools you’ll need include:
- Hand saw or jigsaw:To cut your wood to the right length.
- Drill with bits:For making holes if you plan to attach the perch securely.
- Sandpaper or sanding block:To smooth rough edges and prevent splinters.
- Measuring tape:To get precise cuts tailored to your bird’s size.
Have you ever tried working without the right tools? It slows you down and risks uneven edges. Preparing your workspace and tools beforehand can save you frustration and keep your project safe.
Additional Supplies
Besides wood and tools, a few extra items will make your perch durable and bird-friendly. Consider these supplies:
- Non-toxic wood glue:For reinforcing joints without harmful chemicals.
- Food-safe finish or sealant:To protect the wood and make cleaning easier.
- Rope or natural fibers:To wrap parts of the perch for better grip.
- Mounting brackets or hooks:If you want to attach the perch inside the cage securely.
Choosing the right finish is especially important. Some finishes contain chemicals that birds might ingest when they chew. Look for finishes labeled safe for children’s toys or food contact surfaces.
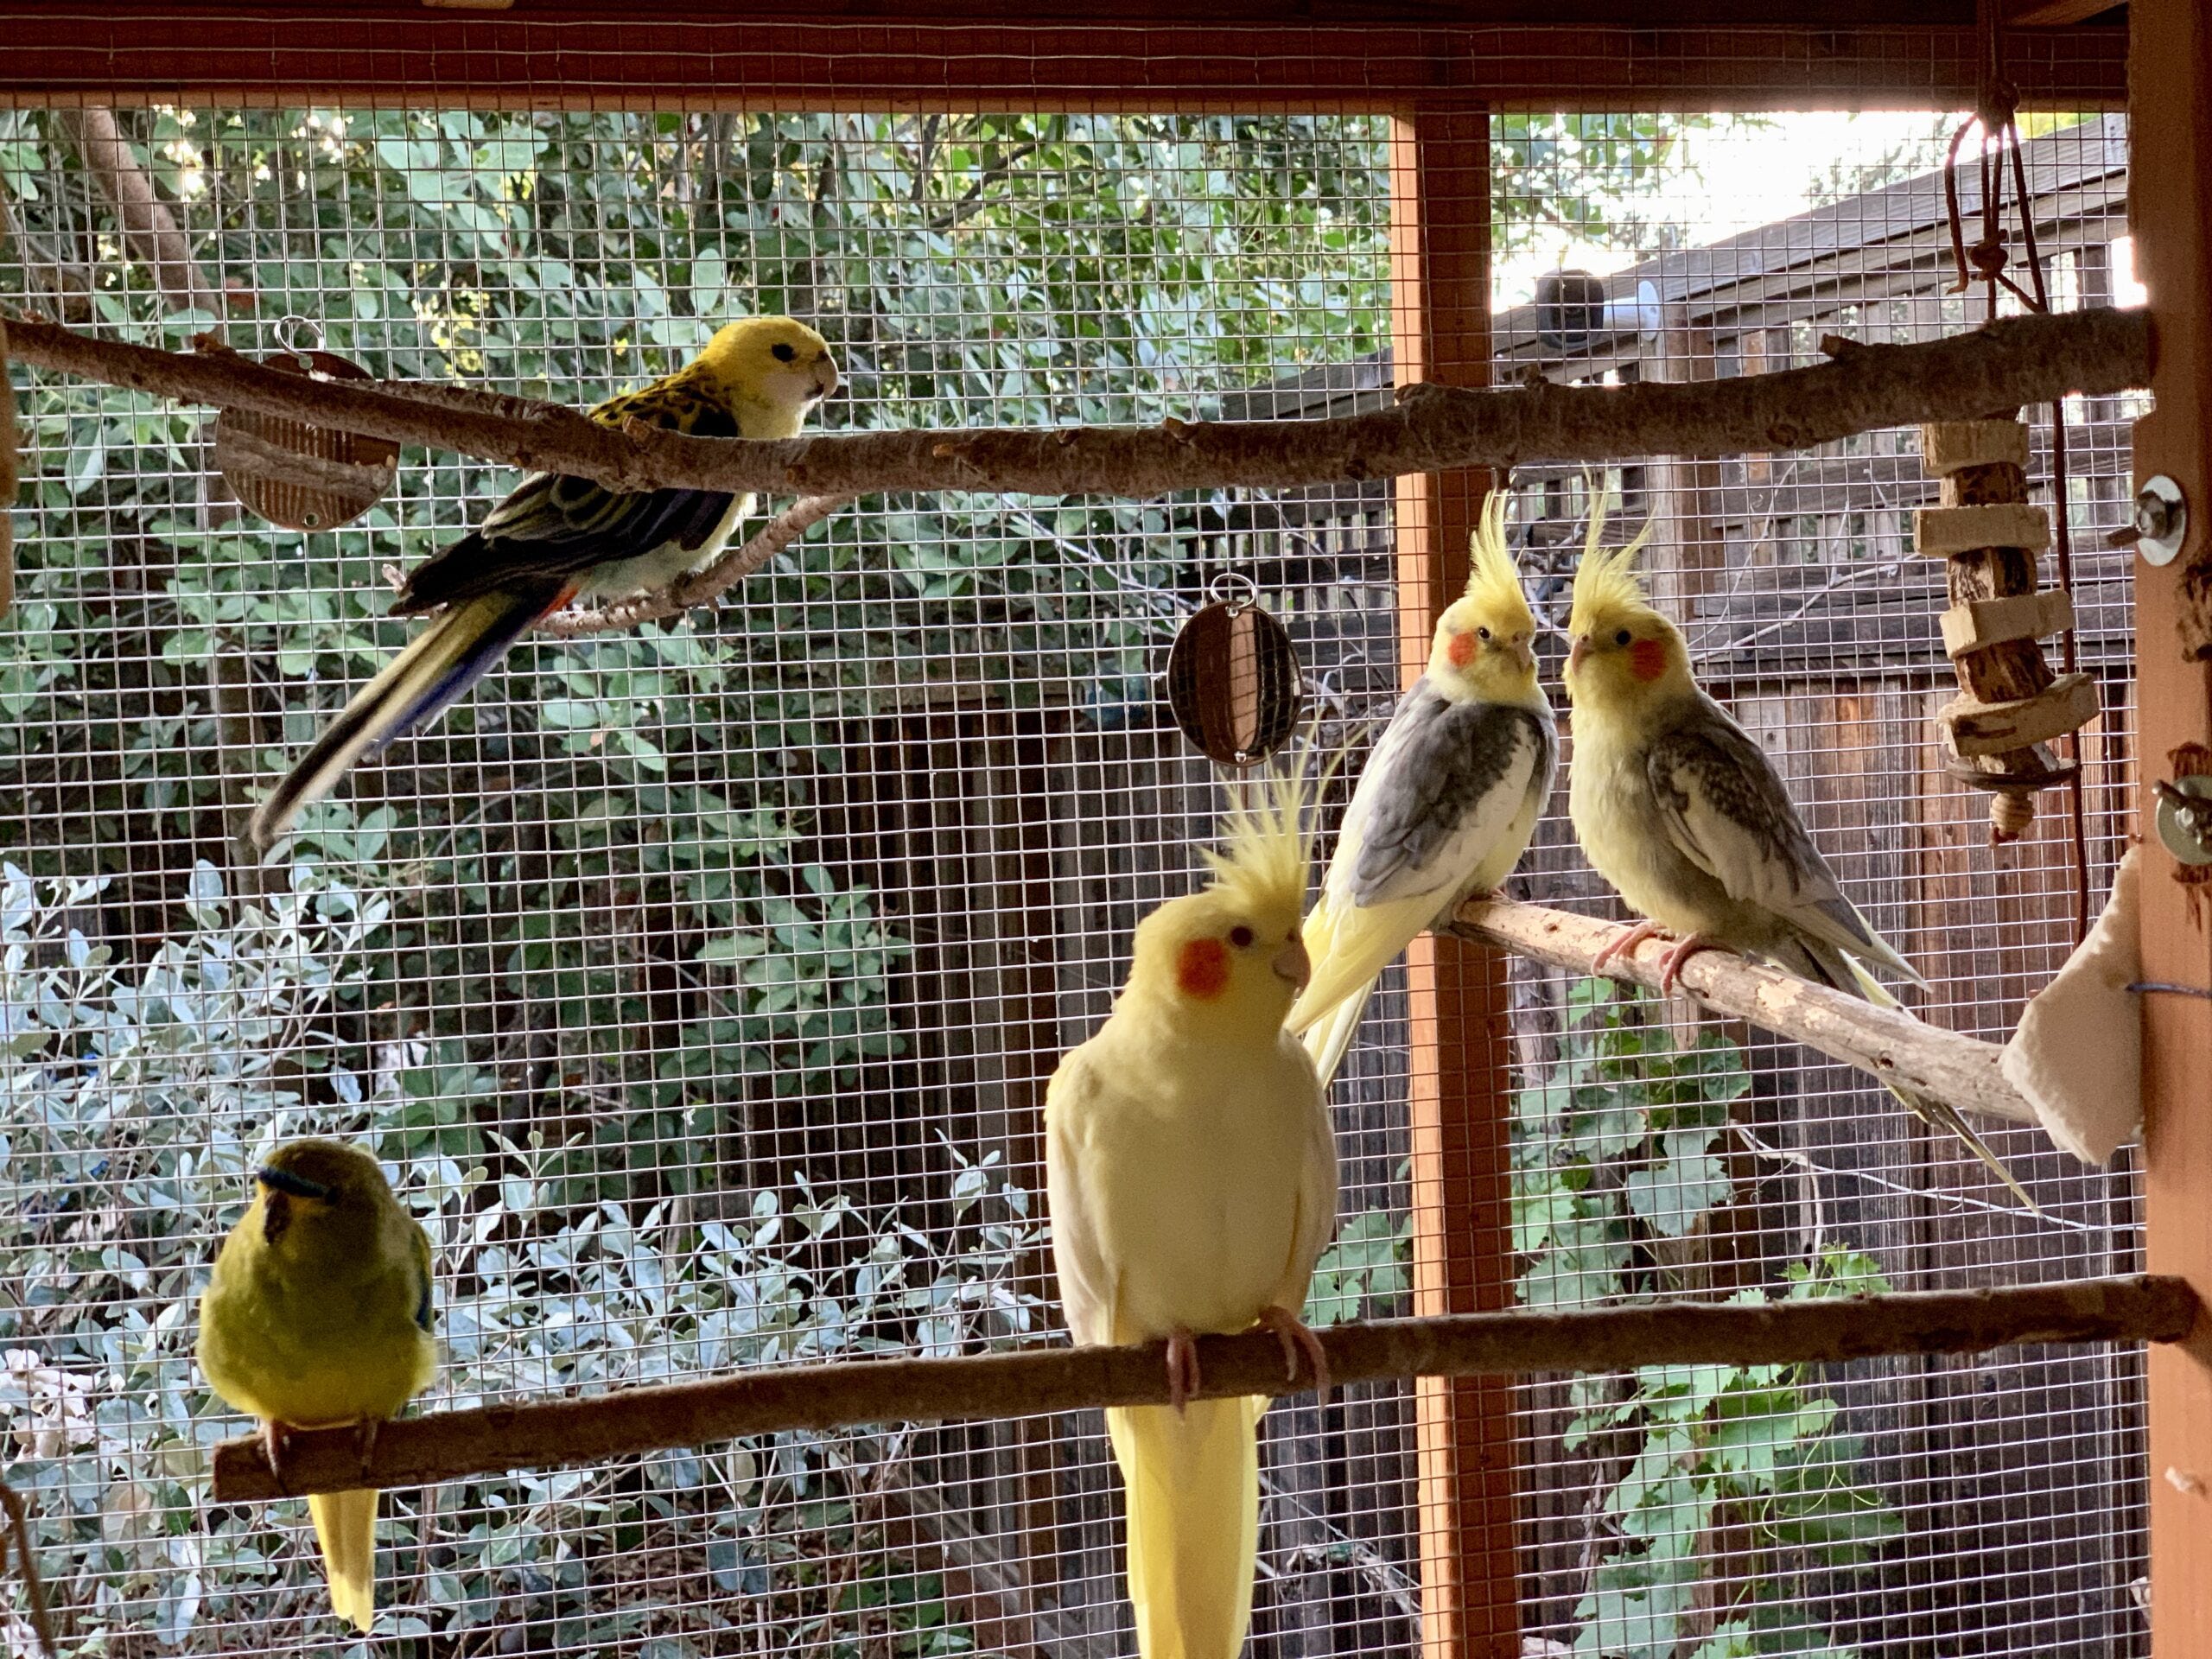
Credit: freerangeparrots.org
Preparing The Wood
Preparing the wood is a key part of making a sturdy bird perch. The wood must be safe, smooth, and shaped right. This process makes sure the perch is comfortable for your bird and lasts a long time. Proper preparation also helps avoid splinters and sharp edges that could hurt your pet.
Measuring And Cutting
Start by choosing a strong, untreated branch or wood piece. Measure the length based on your bird’s size. Most birds need perches about 8 to 12 inches long. Mark the wood clearly before cutting. Use a handsaw or a small power saw to make a clean cut. Cut slowly to avoid cracking the wood.
Sanding For Smoothness
Sanding removes rough spots and splinters. Use medium-grit sandpaper first, then fine-grit for a smooth finish. Sand all sides, including edges and ends. Check for any sharp points or cracks. Smooth wood keeps your bird’s feet safe and comfortable.
Shaping The Perch
Shape the perch to fit your bird’s feet. Some birds prefer round perches, others like slightly flattened ones. Use a rasp or file to shape the wood gently. Avoid sharp corners or thin spots. A well-shaped perch helps your bird grip easily and prevents foot sores.
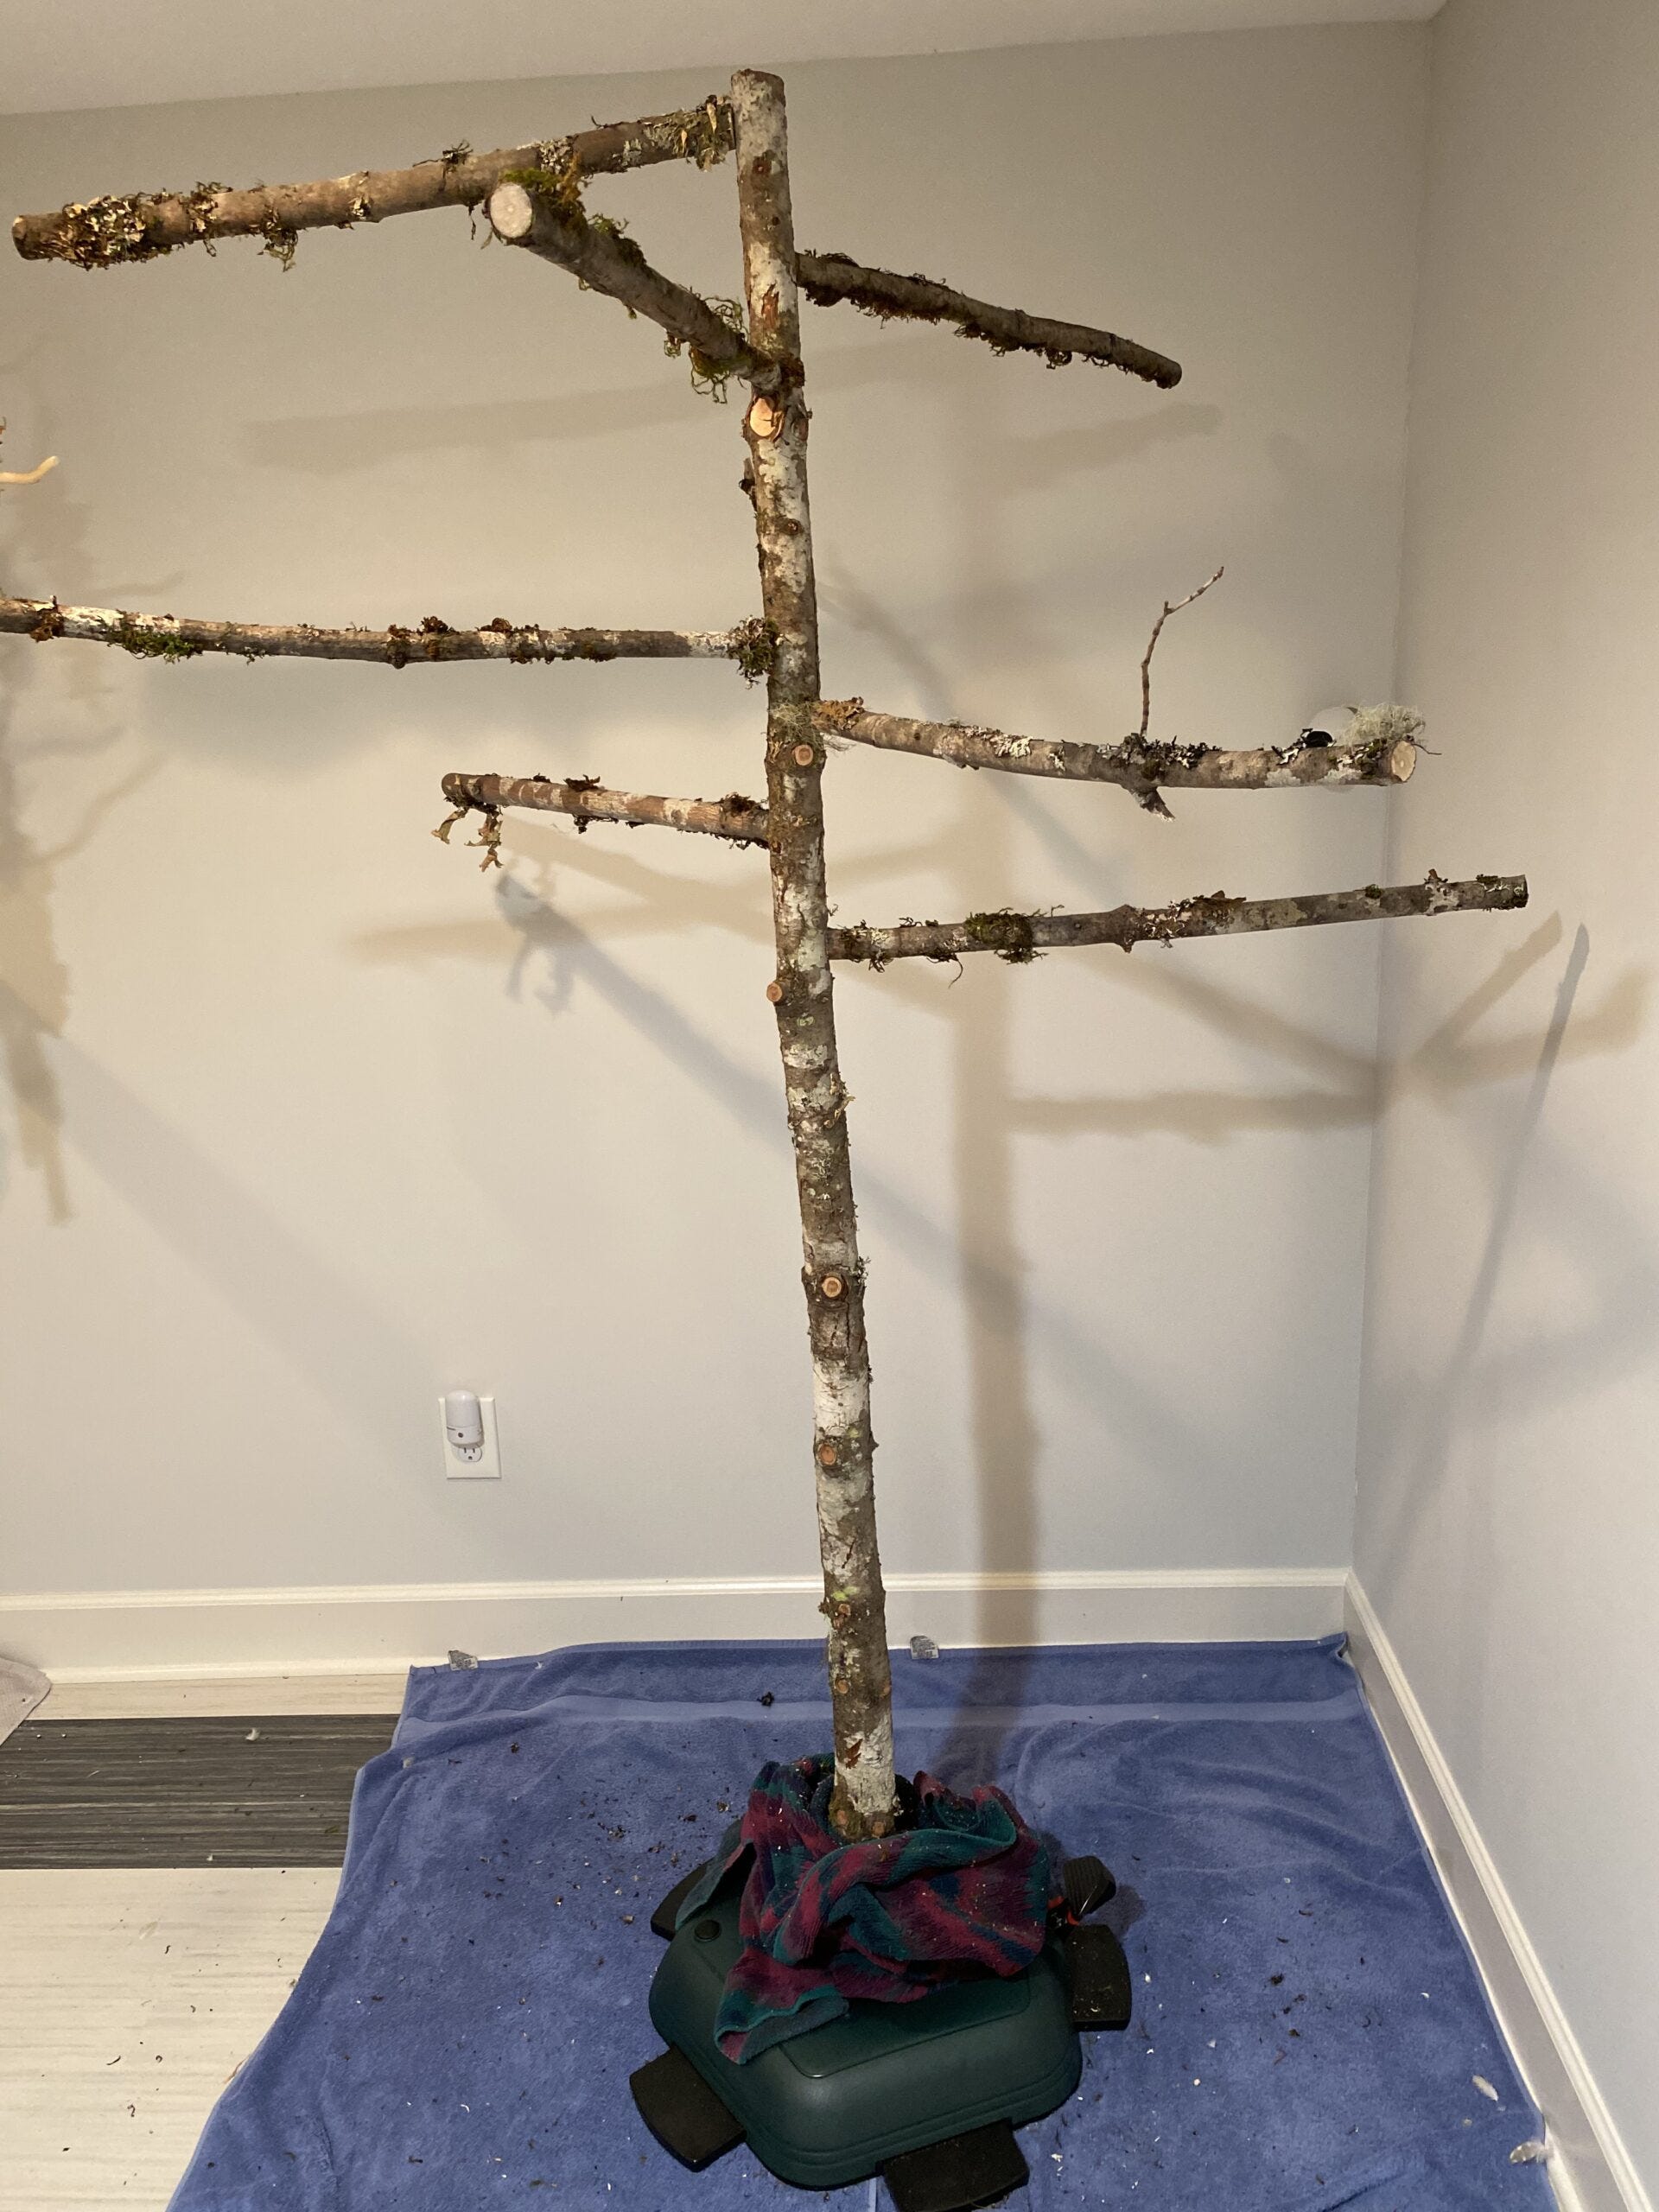
Assembling The Perch
Assembling the bird perch is an important stage that shapes its strength and safety. This process involves joining parts securely and making sure the perch holds steady. Careful assembly helps create a comfortable spot for your bird to rest.
Attaching Support Structures
Start by fixing the main perch beam to its supports. Use screws or nails that fit tightly. Align the supports so the perch stays level. Check that both sides are even. This prevents wobbling and ensures balance.
Securing With Non-toxic Adhesives
Choose adhesives safe for birds to avoid harm. Apply glue to contact points between wood pieces. Press parts together firmly and hold for a few minutes. Let the adhesive dry completely before moving the perch. This adds extra strength to the joints.
Ensuring Stability
Test the perch by pressing down gently. It should not shift or tilt. Place it on a flat surface to check balance. Tighten any loose screws or add supports if needed. Stability keeps your bird safe and comfortable.
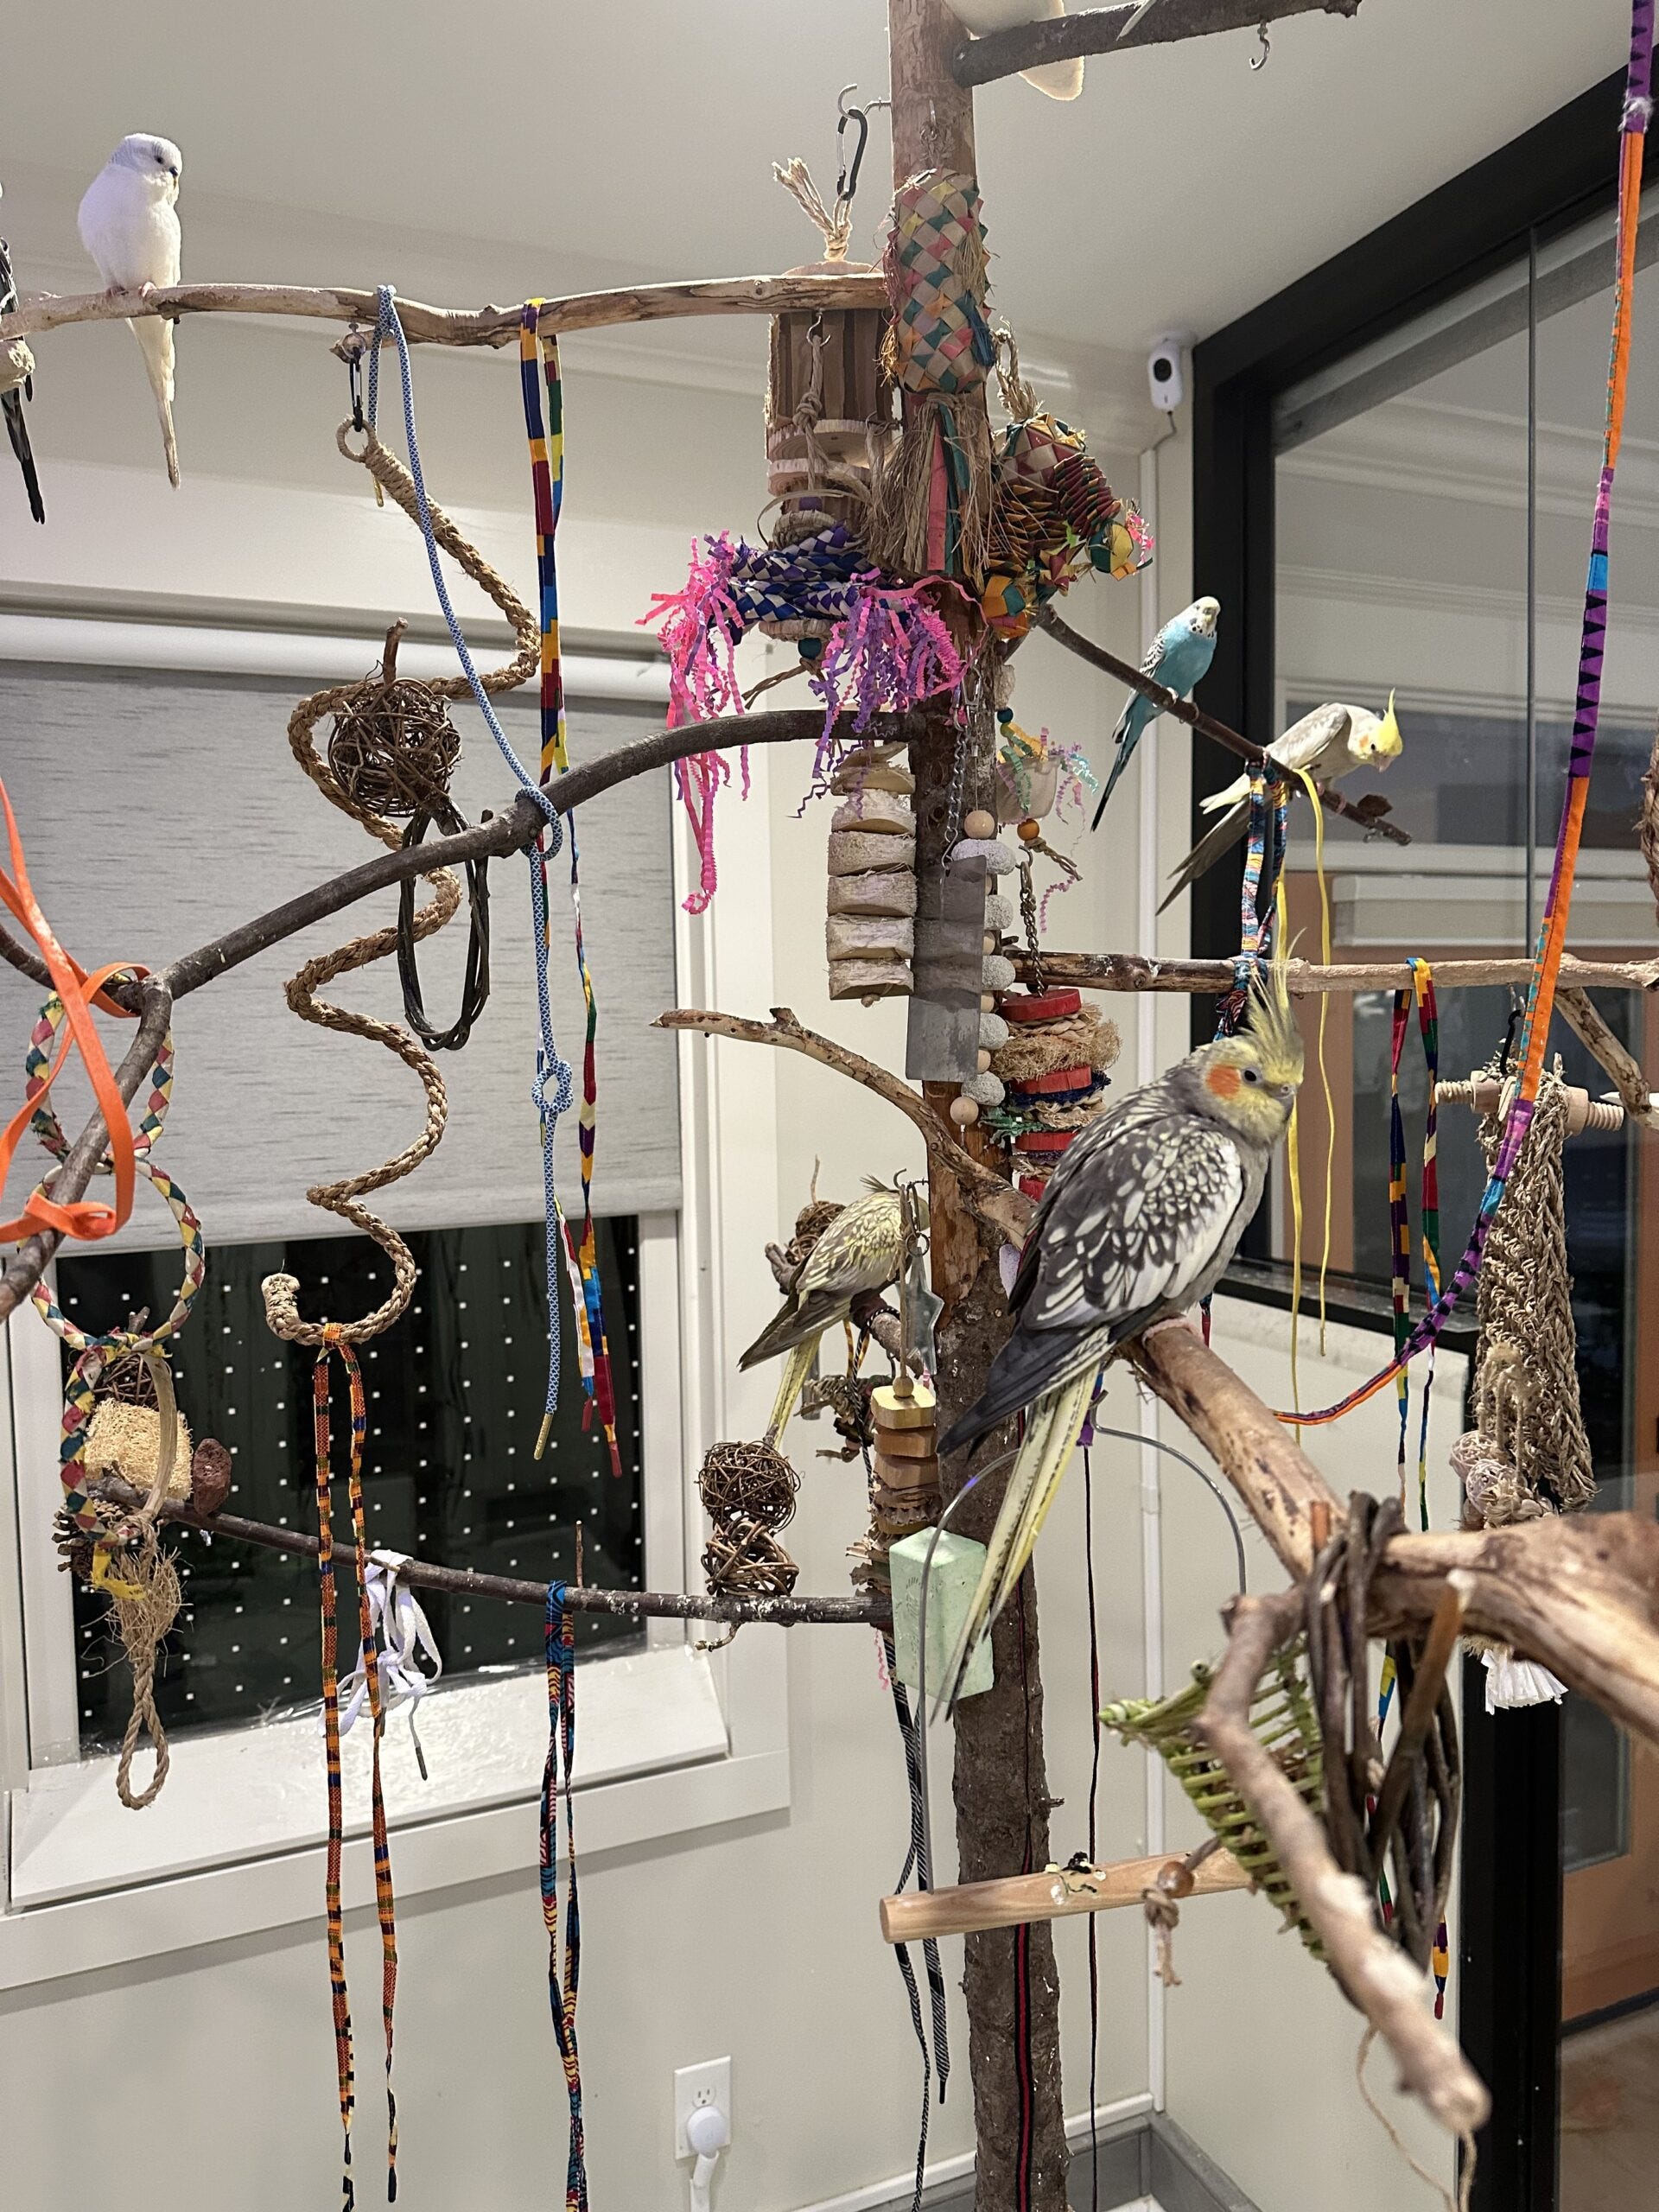
Finishing Touches
Finishing touches bring your homemade bird perch to life. They make the perch safe, attractive, and comfortable for your feathered friend. A well-finished perch invites birds to rest and play. It also ensures durability and ease of cleaning. Focus on protective coatings, gentle decorations, and smart placement for the best results.
Safe Coatings And Sealants
Choose coatings that are non-toxic and bird-safe. Avoid paints or varnishes with harmful chemicals. Natural oils like tung or linseed oil work well. They protect the wood without poisoning birds.
Apply thin layers and let each dry fully. This prevents sticky surfaces that trap dirt. Test the finish by rubbing it with a cloth. It should feel smooth and dry.
Adding Decorative Elements
Keep decorations simple and safe. Use natural materials like small branches or pine cones. Avoid sharp edges or loose parts that birds can swallow.
Bright colors can attract birds but use bird-safe dyes only. Attach decorations firmly with non-toxic glue or by tying them securely. This keeps the perch tidy and interesting.
Placement Tips For Birds
Place the perch in a quiet, sheltered spot. Avoid direct sunlight or windy areas. Birds prefer stable and calm environments to rest.
Position the perch at a comfortable height for your bird species. Near food and water bowls is ideal. This encourages frequent use and helps keep birds active.
Credit: freerangeparrots.org
Frequently Asked Questions
What Materials Are Best For A Homemade Bird Perch?
Natural wood like untreated branches or dowels are ideal. Avoid toxic woods or treated materials. Ensure smooth surfaces to protect bird feet. Non-slip textures help birds grip comfortably. Safe, sturdy materials increase perch lifespan and bird safety.
How Do I Make A Bird Perch Safe And Comfortable?
Sand rough edges to prevent splinters. Choose varying diameter sizes for foot exercise. Avoid sharp or small parts birds can swallow. Use non-toxic finishes if needed. Position the perch to allow easy access and natural posture.
Can I Customize Perch Size For Different Bird Species?
Yes, customize perch diameter and length based on bird size. Smaller birds need thinner perches; larger birds require thicker ones. Offer multiple perches at varied heights for enrichment. Proper size supports bird’s foot health and comfort.
How Often Should I Clean A Homemade Bird Perch?
Clean perches weekly to prevent bacteria buildup. Use mild soap and warm water. Rinse thoroughly and dry completely before use. Regular cleaning maintains bird health and perch longevity.
Conclusion
Making a homemade bird perch is simple and fun. It gives your birds a safe place to rest. Using natural materials keeps them comfortable and happy. You can customize the perch size and shape easily. Regular cleaning helps keep birds healthy.
Try different designs to see what your birds like best. Enjoy watching your birds use the perch every day. Creating a perch yourself saves money and adds a personal touch. Give it a try and see the difference it makes.
Your birds will thank you.