
Have you ever watched birds hopping from branch to branch, enjoying their natural playground? If you’re a bird lover, you might want to bring that natural charm into your backyard or even indoors.
Making bird perches out of branches is a fantastic way to do just that. Not only does it provide a safe and comfortable spot for your feathered friends, but it also adds a touch of nature’s beauty to your space.
Imagine the joy of watching birds up close, perching on something you’ve crafted with your own hands. Intrigued? Let’s dive into the simple steps to create these delightful perches that will make both you and the birds feel at home. Stick around to discover how easy and rewarding it can be to make your feathered guests sing with joy!
Choosing The Right Branches
Choosing the right branches is crucial when making bird perches that are safe and comfortable for your feathered friends. Not every branch is suitable, and the wrong choice can harm your birds or make the perch unstable. Paying attention to the type, size, and condition of the branches ensures you create a perch that lasts and supports your bird’s health.
Safe Wood Types
Not all wood is safe for birds. Some trees produce toxic sap or have harmful chemicals. Stick to woods like:
- Apple
- Maple
- Birch
- Willow
- Poplar
These woods are non-toxic and sturdy. Avoid cedar, pine, or cherry, as they can irritate or poison your birds. If you’re unsure, look up the wood type before using it.
Selecting Branch Size
Size matters when choosing branches for perches. The diameter should match your bird’s feet size for comfort and grip. A branch that’s too thick or too thin can cause foot problems or make it hard for your bird to balance.
Measure your bird’s foot span and pick branches slightly wider. Also, consider the branch length — enough for your bird to move around but not so long it becomes unstable. Have you noticed your bird struggling on certain perch sizes? That could be why.
Cleaning And Preparing
Branches often carry dirt, bugs, or fungi that could harm your bird. Cleaning is a must. Start by scrubbing the branch with a brush and warm, soapy water. Rinse thoroughly and let it dry completely in the sun.
After drying, you can lightly sand any rough spots to avoid splinters. Never use chemicals or paint on the branches. Clean, natural wood keeps your bird safe and happy.
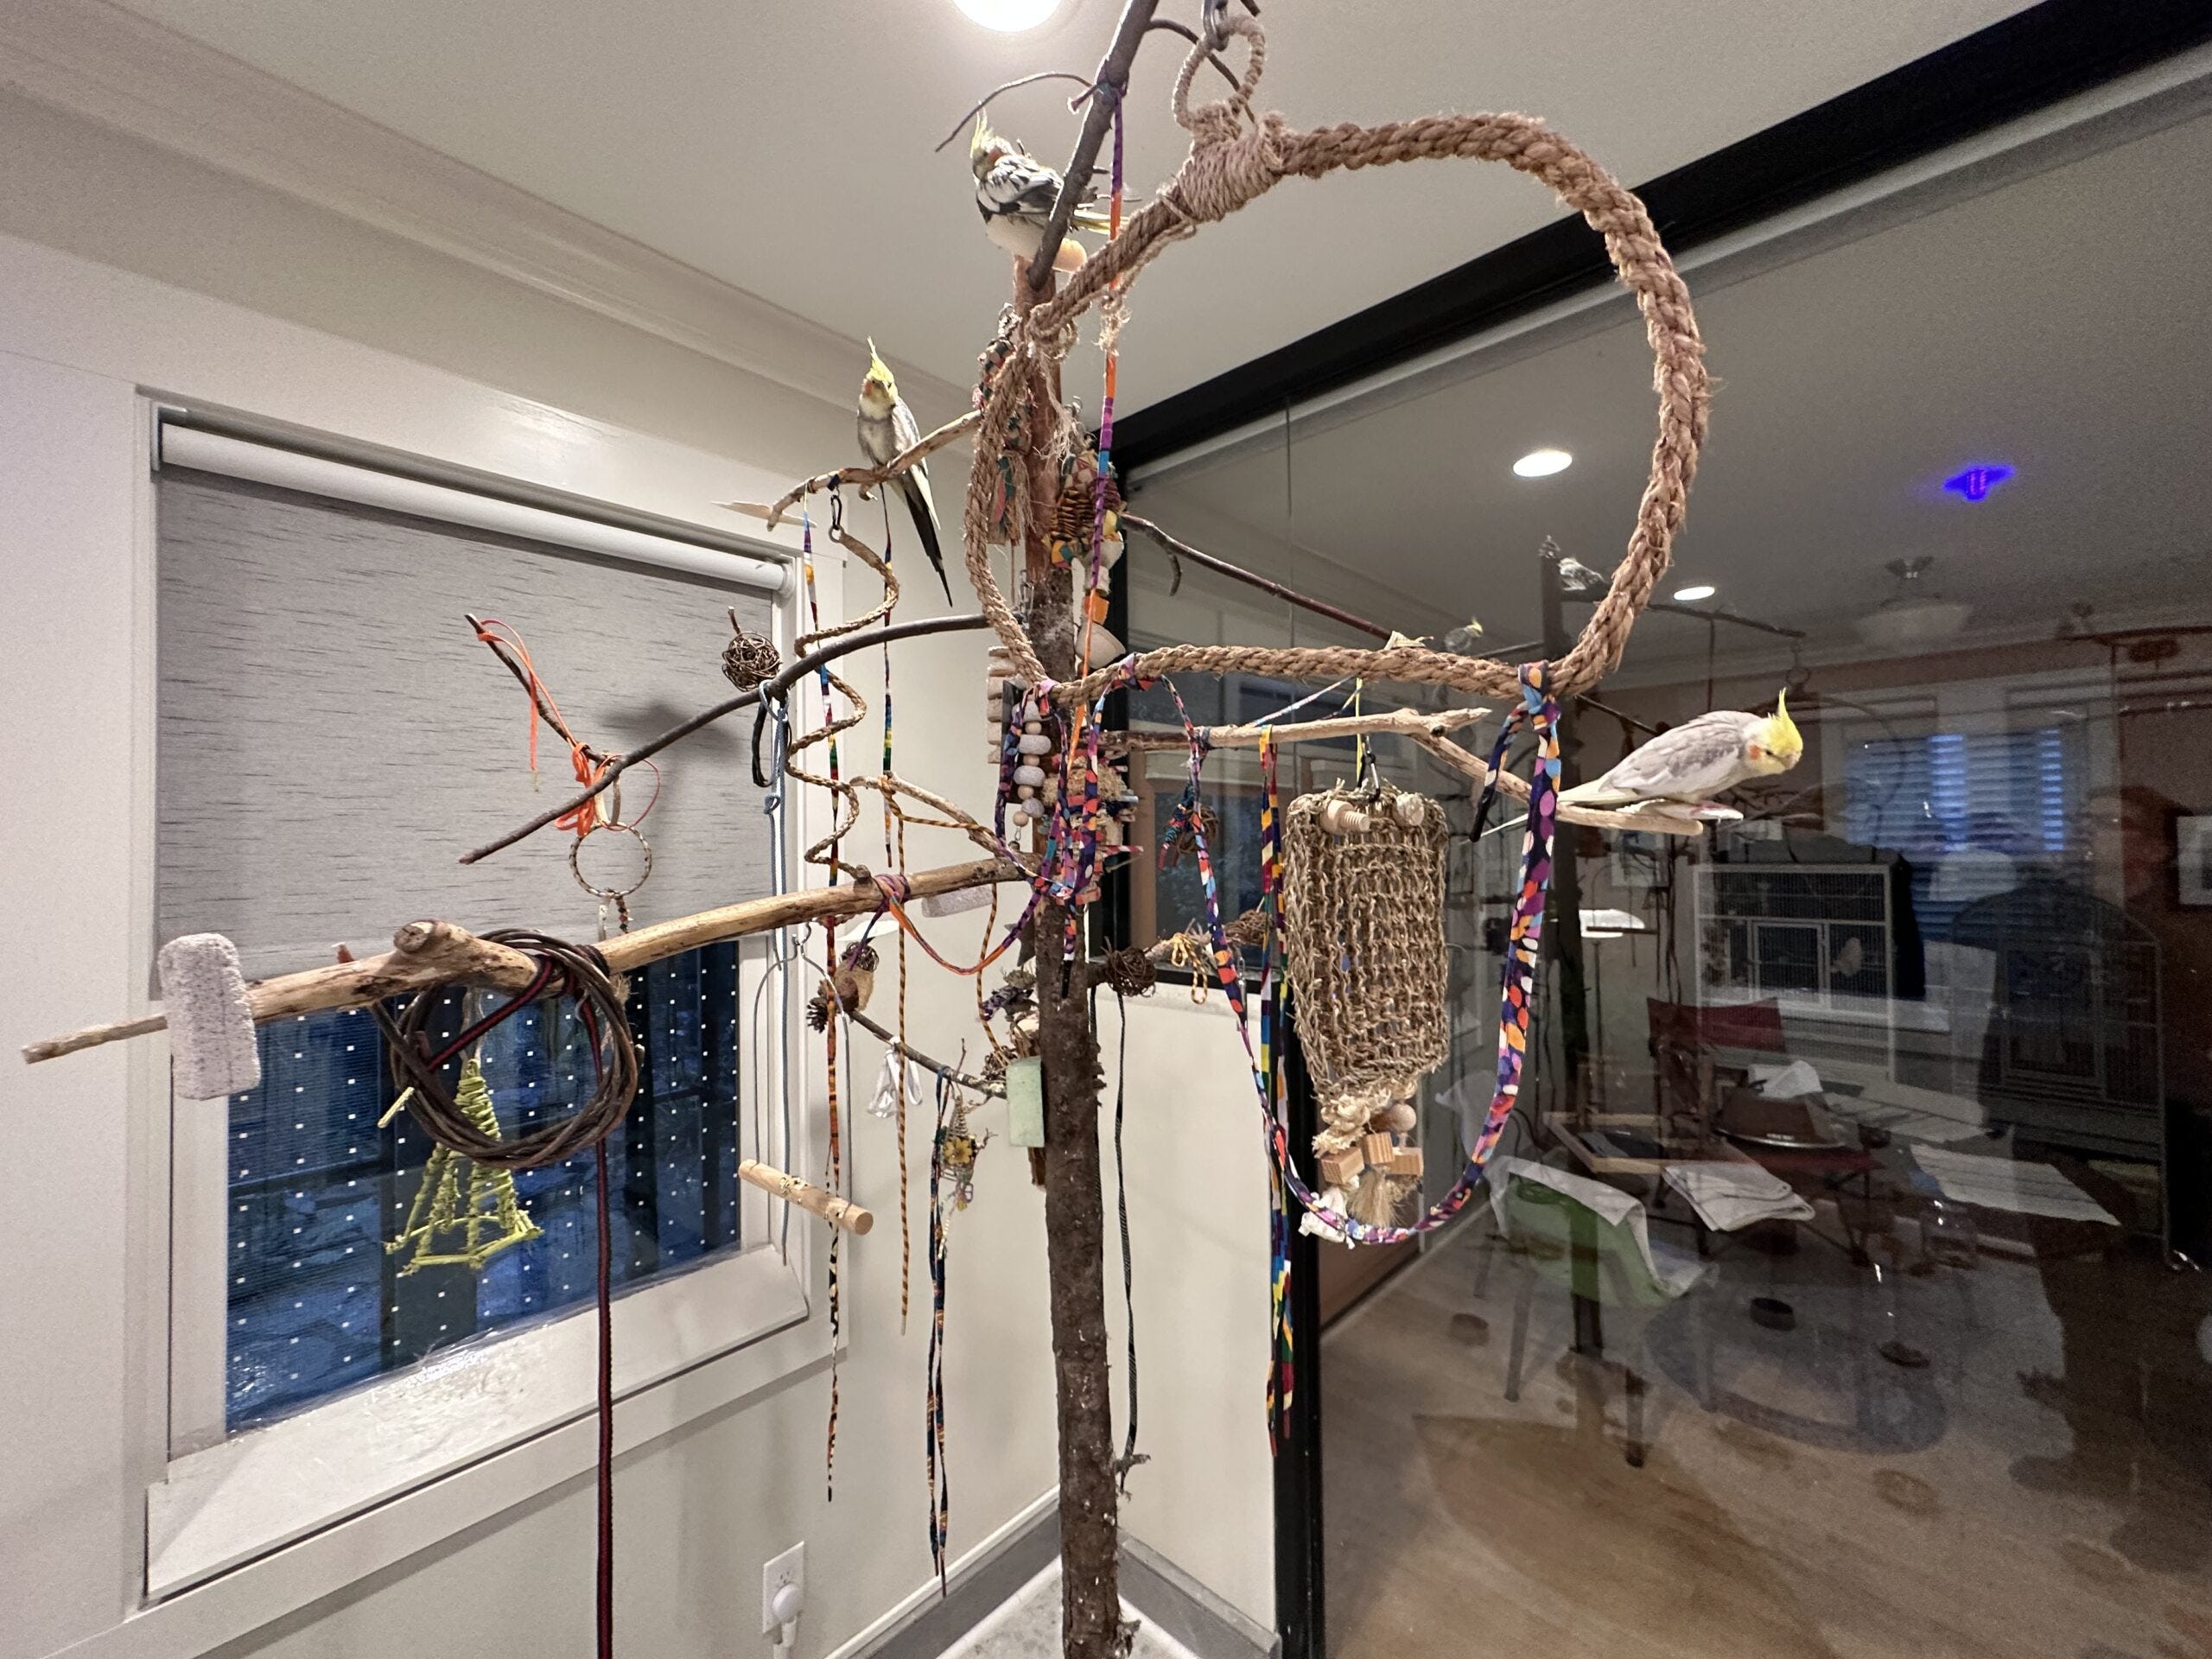
Credit: freerangeparrots.org
Tools And Materials Needed
Creating bird perches from branches is a rewarding project that connects you with nature and benefits your feathered friends. Before you start, gathering the right tools and materials is key to making sturdy, safe, and attractive perches. The right preparation makes the whole process smoother and more enjoyable.
Basic Tools
- Pruning shears– Ideal for cutting smaller branches cleanly without damaging the wood.
- Hand saw or bow saw– Necessary for trimming thicker branches to the desired length.
- Sandpaper– Use medium to fine grit (80 to 120) to smooth rough edges and prevent splinters.
- Measuring tape– Helps you cut branches to consistent sizes for uniform perches.
- Drill with bits– Useful if you plan to add holes for mounting or stringing the perch.
Having these basics at hand will save you time and effort. Think about the size and type of branches you want to work with—this will influence the tools you use.
Additional Supplies
- Natural branches– Choose hardwood branches like oak, maple, or apple for durability and safety.
- Non-toxic wood sealant or beeswax– Optional but recommended to protect the wood and make it easier to clean.
- Rope or metal hooks– For hanging or attaching the perches securely in your bird’s cage or aviary.
- Wood glue– Handy if you want to join smaller branches or add features.
Not all perches require sealants, but if your birds spend a lot of time on them, a safe finish can extend their lifespan. What natural materials do you already have around that could fit this list?
Safety Gear
- Gloves– Protect your hands from rough bark, splinters, and sharp tools.
- Safety goggles– Prevent sawdust or wood chips from irritating your eyes.
- Dust mask– Useful when sanding, especially if you’re sensitive to wood dust.
It’s easy to overlook safety gear, but it can make a big difference. Have you ever felt a sudden sting from a splinter or dust in your eyes? Taking a moment to gear up keeps your project fun and injury-free.
Step-by-step Construction
Building bird perches from branches is a rewarding task that combines creativity and practicality. You get to provide your feathered friends with a natural, safe spot to rest while customizing the size and shape to fit their needs perfectly. The process is straightforward if you focus on each stage carefully.
Cutting And Shaping
Start by selecting branches that are sturdy and free from rot or pests. The ideal thickness depends on your bird’s size—small birds prefer thinner branches, while larger birds need thicker ones to hold their weight comfortably.
Use a sharp saw or pruning shears to cut your branches to the desired length. Try to keep the cuts clean and straight, but don’t worry if the ends are a bit rough; you’ll smooth them later. Think about the perch’s overall shape—do you want a straight bar or a natural curve? This choice affects how your bird will grip and balance.
Sanding And Smoothing
After cutting, sanding is crucial to protect your birds from splinters. Use medium-grit sandpaper first to remove rough spots, then switch to finer grit for a smooth finish. Pay special attention to the ends and any knots or bumps that might scratch your bird’s feet.
Take your time here; a smooth perch is safer and more comfortable. If you notice any bark peeling off, sand it down completely or remove the loose pieces. Have you considered that some birds like textured surfaces? Leaving a bit of natural roughness can provide a better grip.
Assembling The Perch
Once all parts are smooth, think about how to join them. You can keep it simple by using a single branch or create a multi-level perch by connecting several branches. Use non-toxic wood glue or stainless steel screws to secure the pieces together.
Drill pilot holes before screwing to prevent the wood from splitting. For extra stability, wrap the joints with natural twine or sisal rope, which also gives your birds something fun to nibble on. How will your perch fit inside the cage or outdoor aviary? Measure carefully to ensure a snug fit without overcrowding the space.
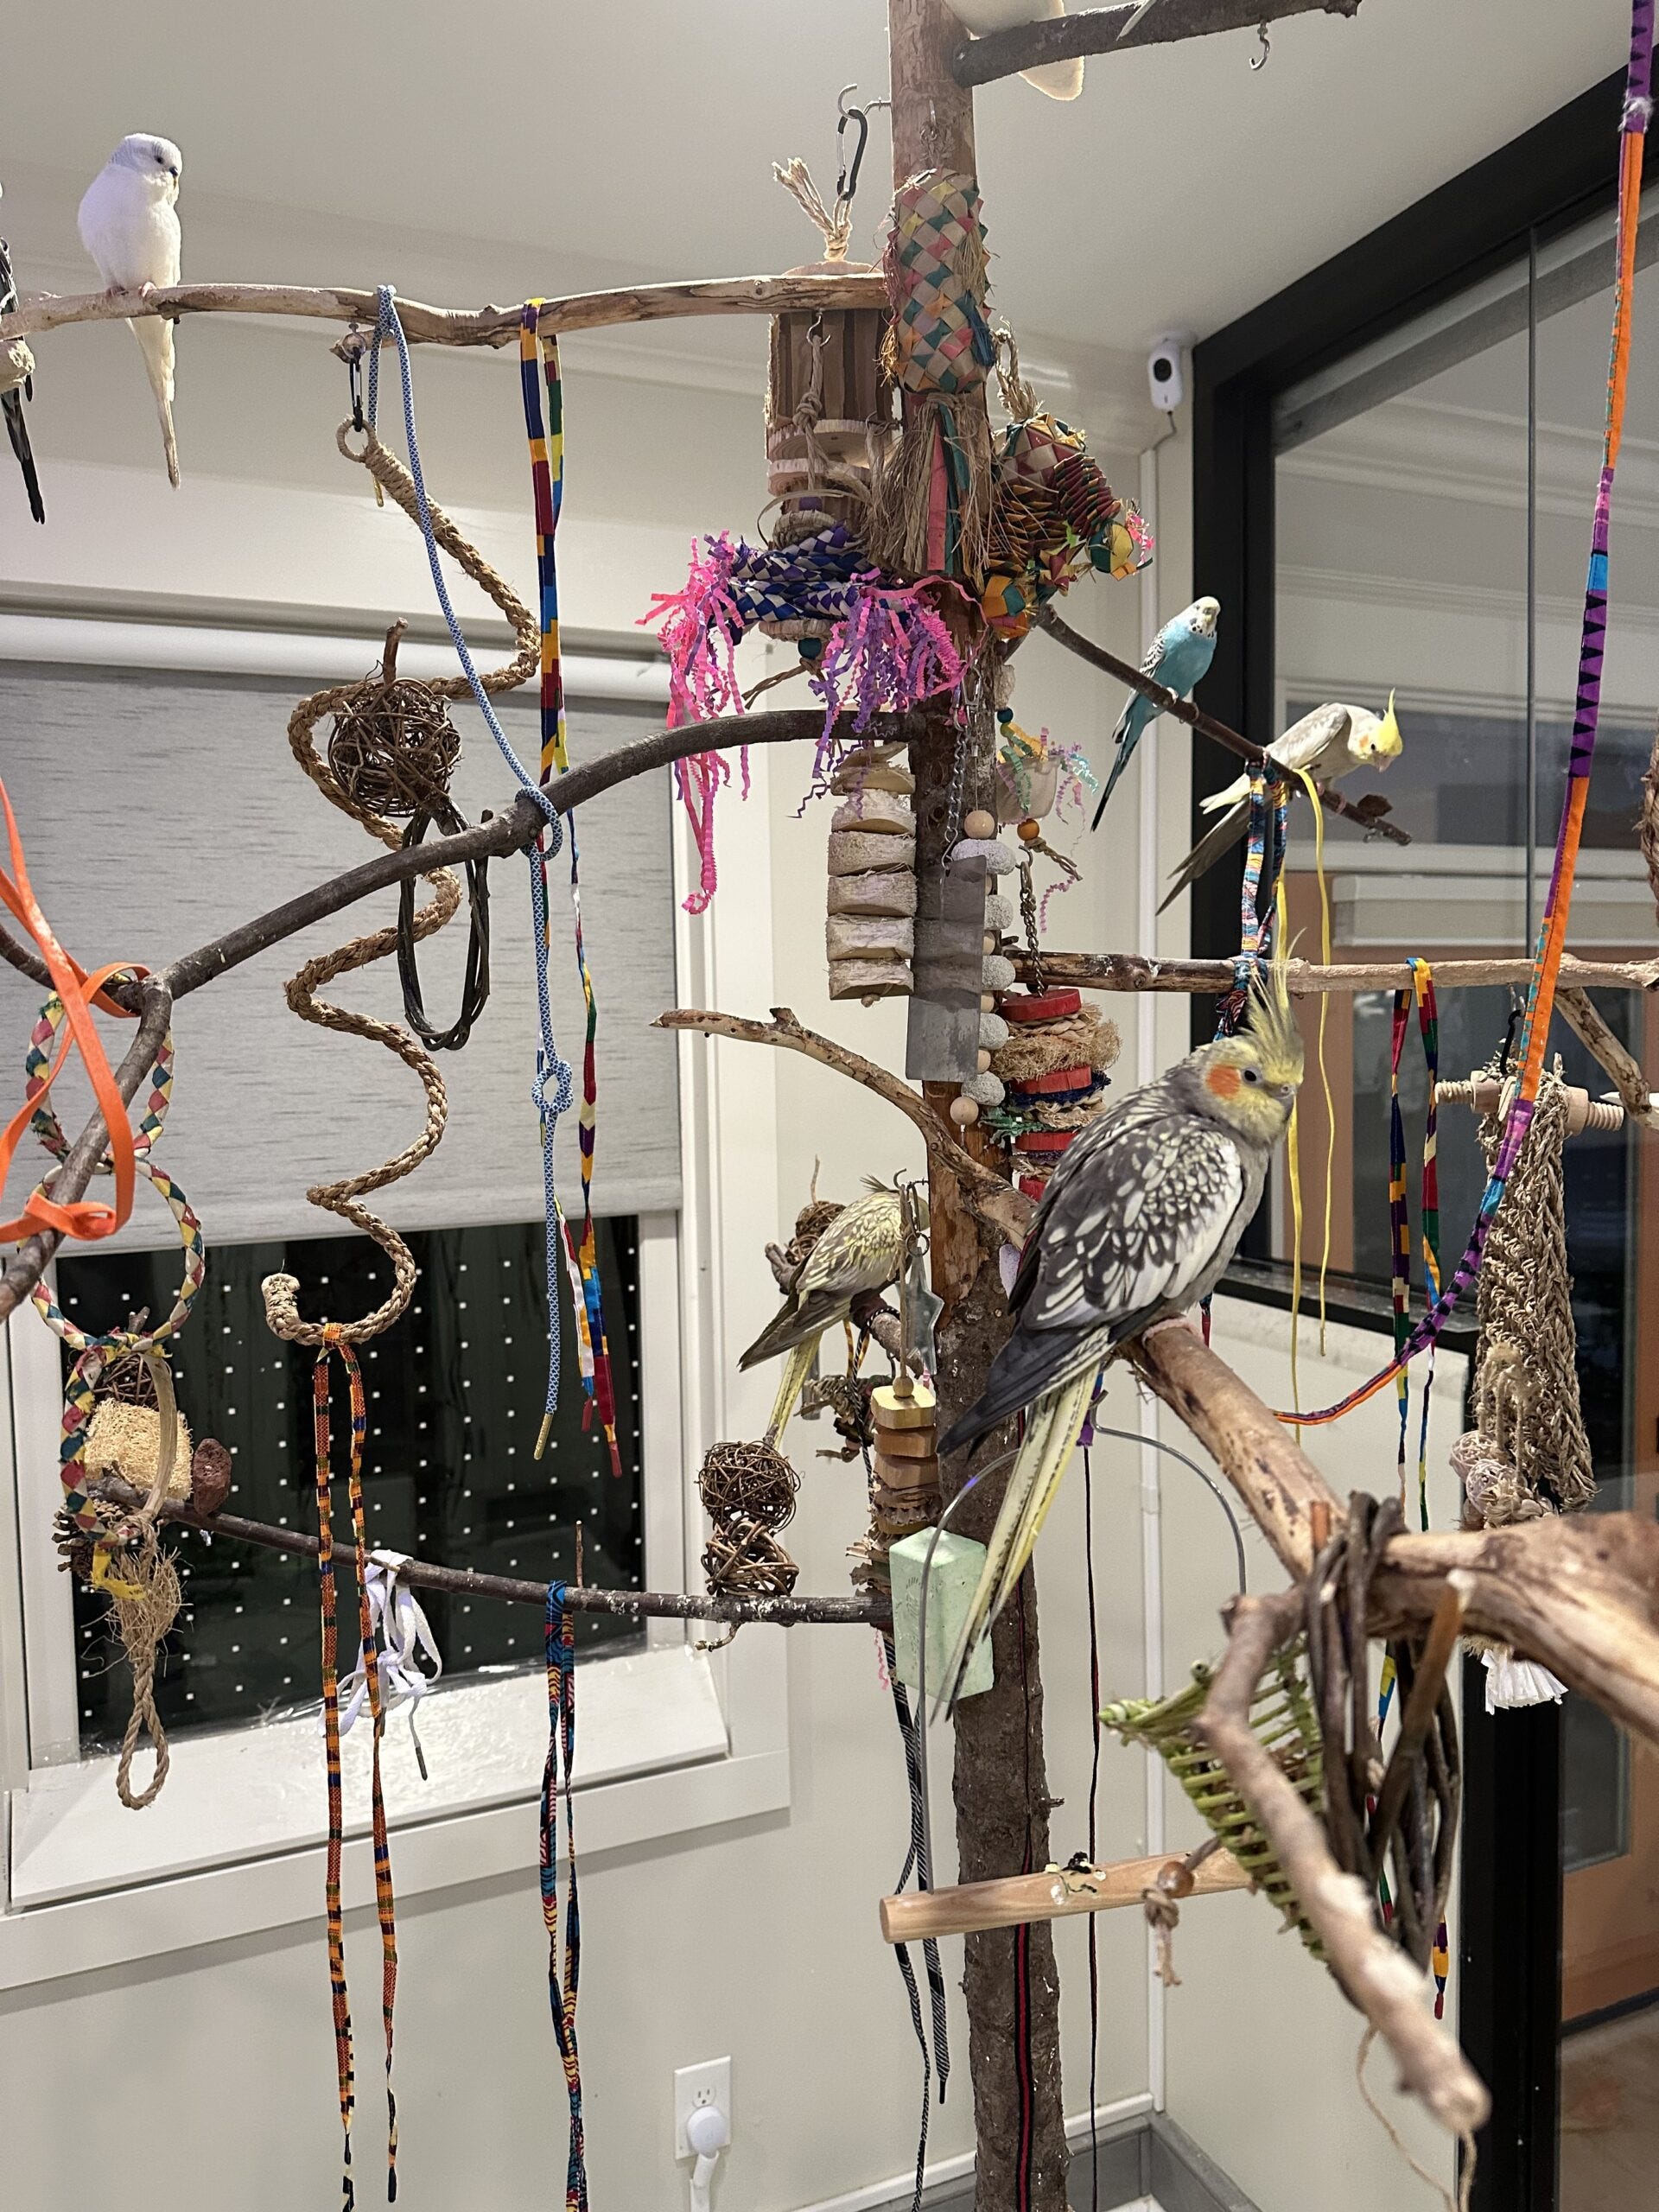
Credit: freerangeparrots.org
Maintaining And Placing Perches
Maintaining and placing your bird perches properly is key to keeping your feathered friends happy and healthy. A well-placed perch not only provides comfort but also encourages natural behaviors like climbing and resting. Regular maintenance ensures your perch stays safe and hygienic for daily use.
Cleaning Tips
Keep your perch clean by wiping it down with a damp cloth at least once a week. Use mild soap and warm water to remove any dirt or droppings, but avoid harsh chemicals that could harm your birds. Rinse thoroughly and let it dry completely before putting it back.
Consider having two perches so you can rotate them during cleaning. This way, your birds always have a comfortable spot without interruption. Do you notice any stubborn stains? A gentle scrub with a soft brush can help without damaging the wood.
Ideal Placement
Place perches at different heights and locations inside the cage to encourage movement and exercise. Avoid spots near food and water bowls to keep those areas clean and dry. Perches near natural light can also boost your bird’s mood and activity.
Think about your bird’s size and personality when choosing perch placement. Larger birds may prefer higher spots for a better view, while smaller birds might feel safer closer to the bottom. How often do you change your perch layout to keep things interesting?
Monitoring Wear
Branches naturally wear down over time, so check your perch regularly for cracks, splinters, or soft spots. These can injure your bird’s feet or cause discomfort. Replace perches that show significant damage to avoid any risk.
Keep an eye on your bird’s behavior too. If you notice them avoiding a certain perch, it might be due to wear or discomfort. How do you tell if your perch is still a safe and inviting spot for your pet?
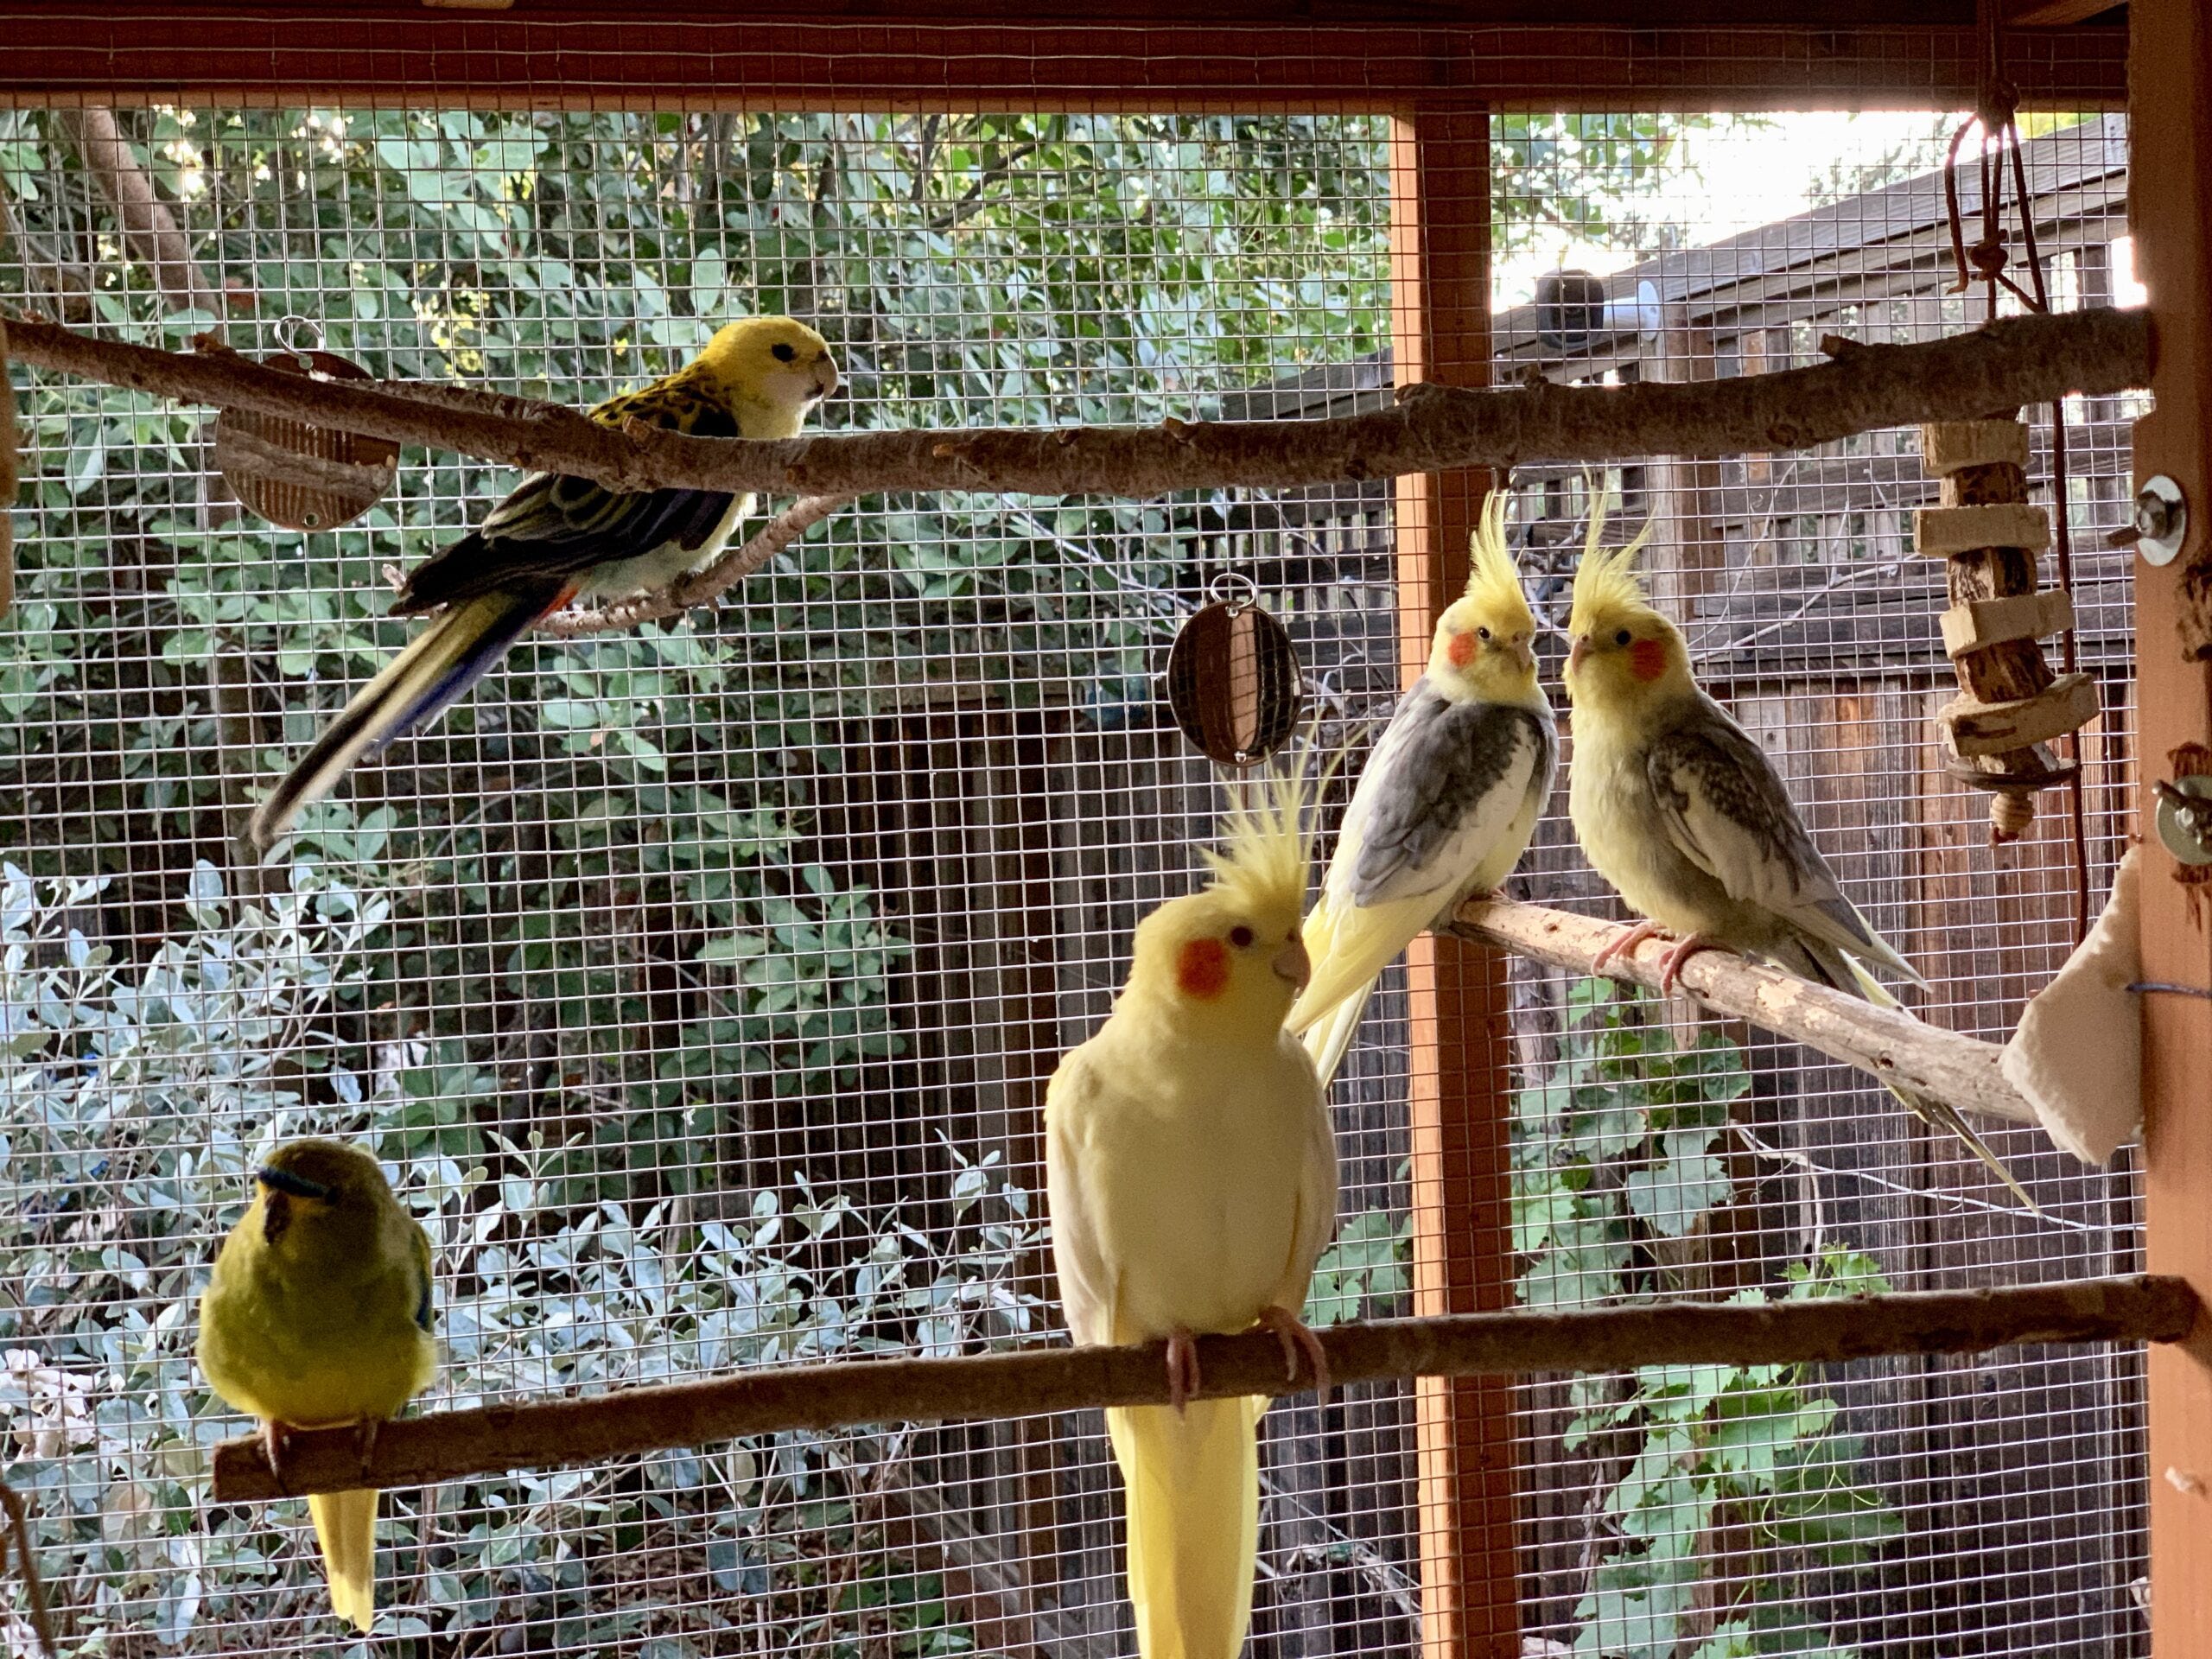
Credit: freerangeparrots.org
Frequently Asked Questions
What Branches Are Best For Making Bird Perches?
Choose hardwood branches like oak, maple, or apple. These woods are durable, non-toxic, and safe for birds to grip and chew. Avoid softwoods like pine, which may contain harmful resins.
How Do I Clean Branches Before Use?
Wash branches thoroughly with warm water and scrub off dirt. Avoid chemicals; instead, bake the branches at 200°F (93°C) for 30 minutes to kill pests and bacteria. Let them cool before using.
Can I Use Bird Perches Outdoors?
Yes, but ensure the branches are weather-resistant and untreated. Regularly check for mold or rot. Applying a bird-safe sealant can help protect the perch from moisture.
How Thick Should Bird Perches Be?
Perches should be ¾ to 1 inch thick to fit comfortably in birds’ feet. Varied thickness promotes foot health by encouraging natural gripping and exercise.
Conclusion
Making bird perches from branches is simple and fun. You only need a few materials and some care. Choose strong, safe branches for your birds. Sand the wood to keep it smooth and safe. Attach the perch firmly in the cage or garden.
Birds love natural wood for resting and playing. Creating your own perches saves money and adds a personal touch. Try different branch sizes for variety and comfort. Enjoy watching your birds relax on their new perch. It’s a small project with great rewards.