
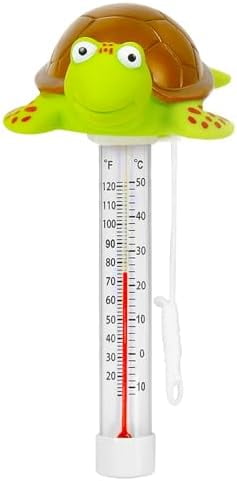
Are you tired of finding your bird bath frozen on chilly mornings? A bird bath heater can be the perfect solution to keep your feathered friends happy and hydrated all year long.
But how do you ensure your bird bath heater is working efficiently? Don’t worry; we’ve got you covered. In this guide, you will learn how to test your bird bath heater effectively, so you can rest easy knowing your backyard birds are well-cared for, even when the temperature drops.
With a few simple steps, you’ll be able to confidently maintain your bird bath heater, ensuring it’s in top shape for the winter months. Dive in and discover how you can keep your backyard oasis warm and inviting, no matter how cold it gets outside.
Credit: stoicinvesting.com
Choosing The Right Heater
Choosing the right bird bath heater is crucial for keeping your feathered friends safe and comfortable during cold weather. The perfect heater not only prevents the water from freezing but also ensures energy efficiency and user safety. Understanding your options and what features matter will help you make the best choice.
Types Of Bird Bath Heaters
Bird bath heaters come in several types, each designed to fit different needs and budgets. The most common options include:
- Submersible Heaters:These heaters sit directly in the water, providing consistent warmth. They are great for small to medium bird baths but require waterproofing to prevent damage.
- Floating Heaters:Floating models rest on the surface, heating the water without needing to be submerged. They’re easy to install and move but might heat unevenly in larger baths.
- Heated Mats:Placed beneath the bird bath, these mats warm the base to prevent freezing. They work well for baths with flat bottoms but may not warm the water as effectively as other types.
Think about your bird bath’s size, material, and location before selecting a heater. Have you noticed how your local birds interact with your bath? That can influence your choice too.
Safety Features To Look For
Safety is non-negotiable when picking a bird bath heater. Look for these key features to protect both your birds and yourself:
- Waterproof Design:Ensures the heater remains functional and safe even if fully submerged or splashed.
- Automatic Shut-Off:Prevents overheating by turning off the heater when the water reaches a certain temperature.
- Durable Materials:Resistant to weather, UV rays, and chewing by curious birds.
- Energy Efficiency:Saves you money and reduces environmental impact without compromising warmth.
Before installing, check if the heater has certifications or safety ratings. Have you ever tested a heater that felt too hot to touch? That’s a red flag you want to avoid.

Credit: www.birdfy.com
Preparing The Heater For Testing
Preparing your bird bath heater for testing is crucial to ensure it works safely and efficiently. Taking time to clean and inspect the unit before powering it on can prevent unexpected failures. It also helps you identify any issues that might affect its performance.
Cleaning And Inspecting The Unit
Start by unplugging the heater and removing it from the bird bath. Dirt, algae, and debris often build up on the surface, which can block heat transfer and cause the unit to overheat. Use a soft brush or cloth with mild soap and water to clean the heater gently.
Check the heater’s casing for cracks or damage. Even small cracks can let water inside, posing a safety risk. Pay close attention to any seals or gaskets—if they look worn out, consider replacing them before testing.
Have you noticed any discoloration or burnt spots? These signs usually indicate internal issues and mean the heater may not function properly. Taking these steps early saves you time and money on repairs later.
Checking Power Sources And Connections
Ensure the power source matches the heater’s voltage requirements exactly. Using the wrong voltage can damage the unit or cause it to malfunction. Test the outlet with another device to confirm it’s supplying stable power.
Examine the plug and power cord for frays, cuts, or loose connections. Even minor damage can cause electrical shorts or shocks. If the cord looks worn, replace it rather than risk safety hazards.
Before plugging the heater back in, check that all connections are secure and dry. Moisture near electrical parts can cause shorts or corrosion, leading to failure. Ask yourself: have you tested the setup in a dry, safe environment?
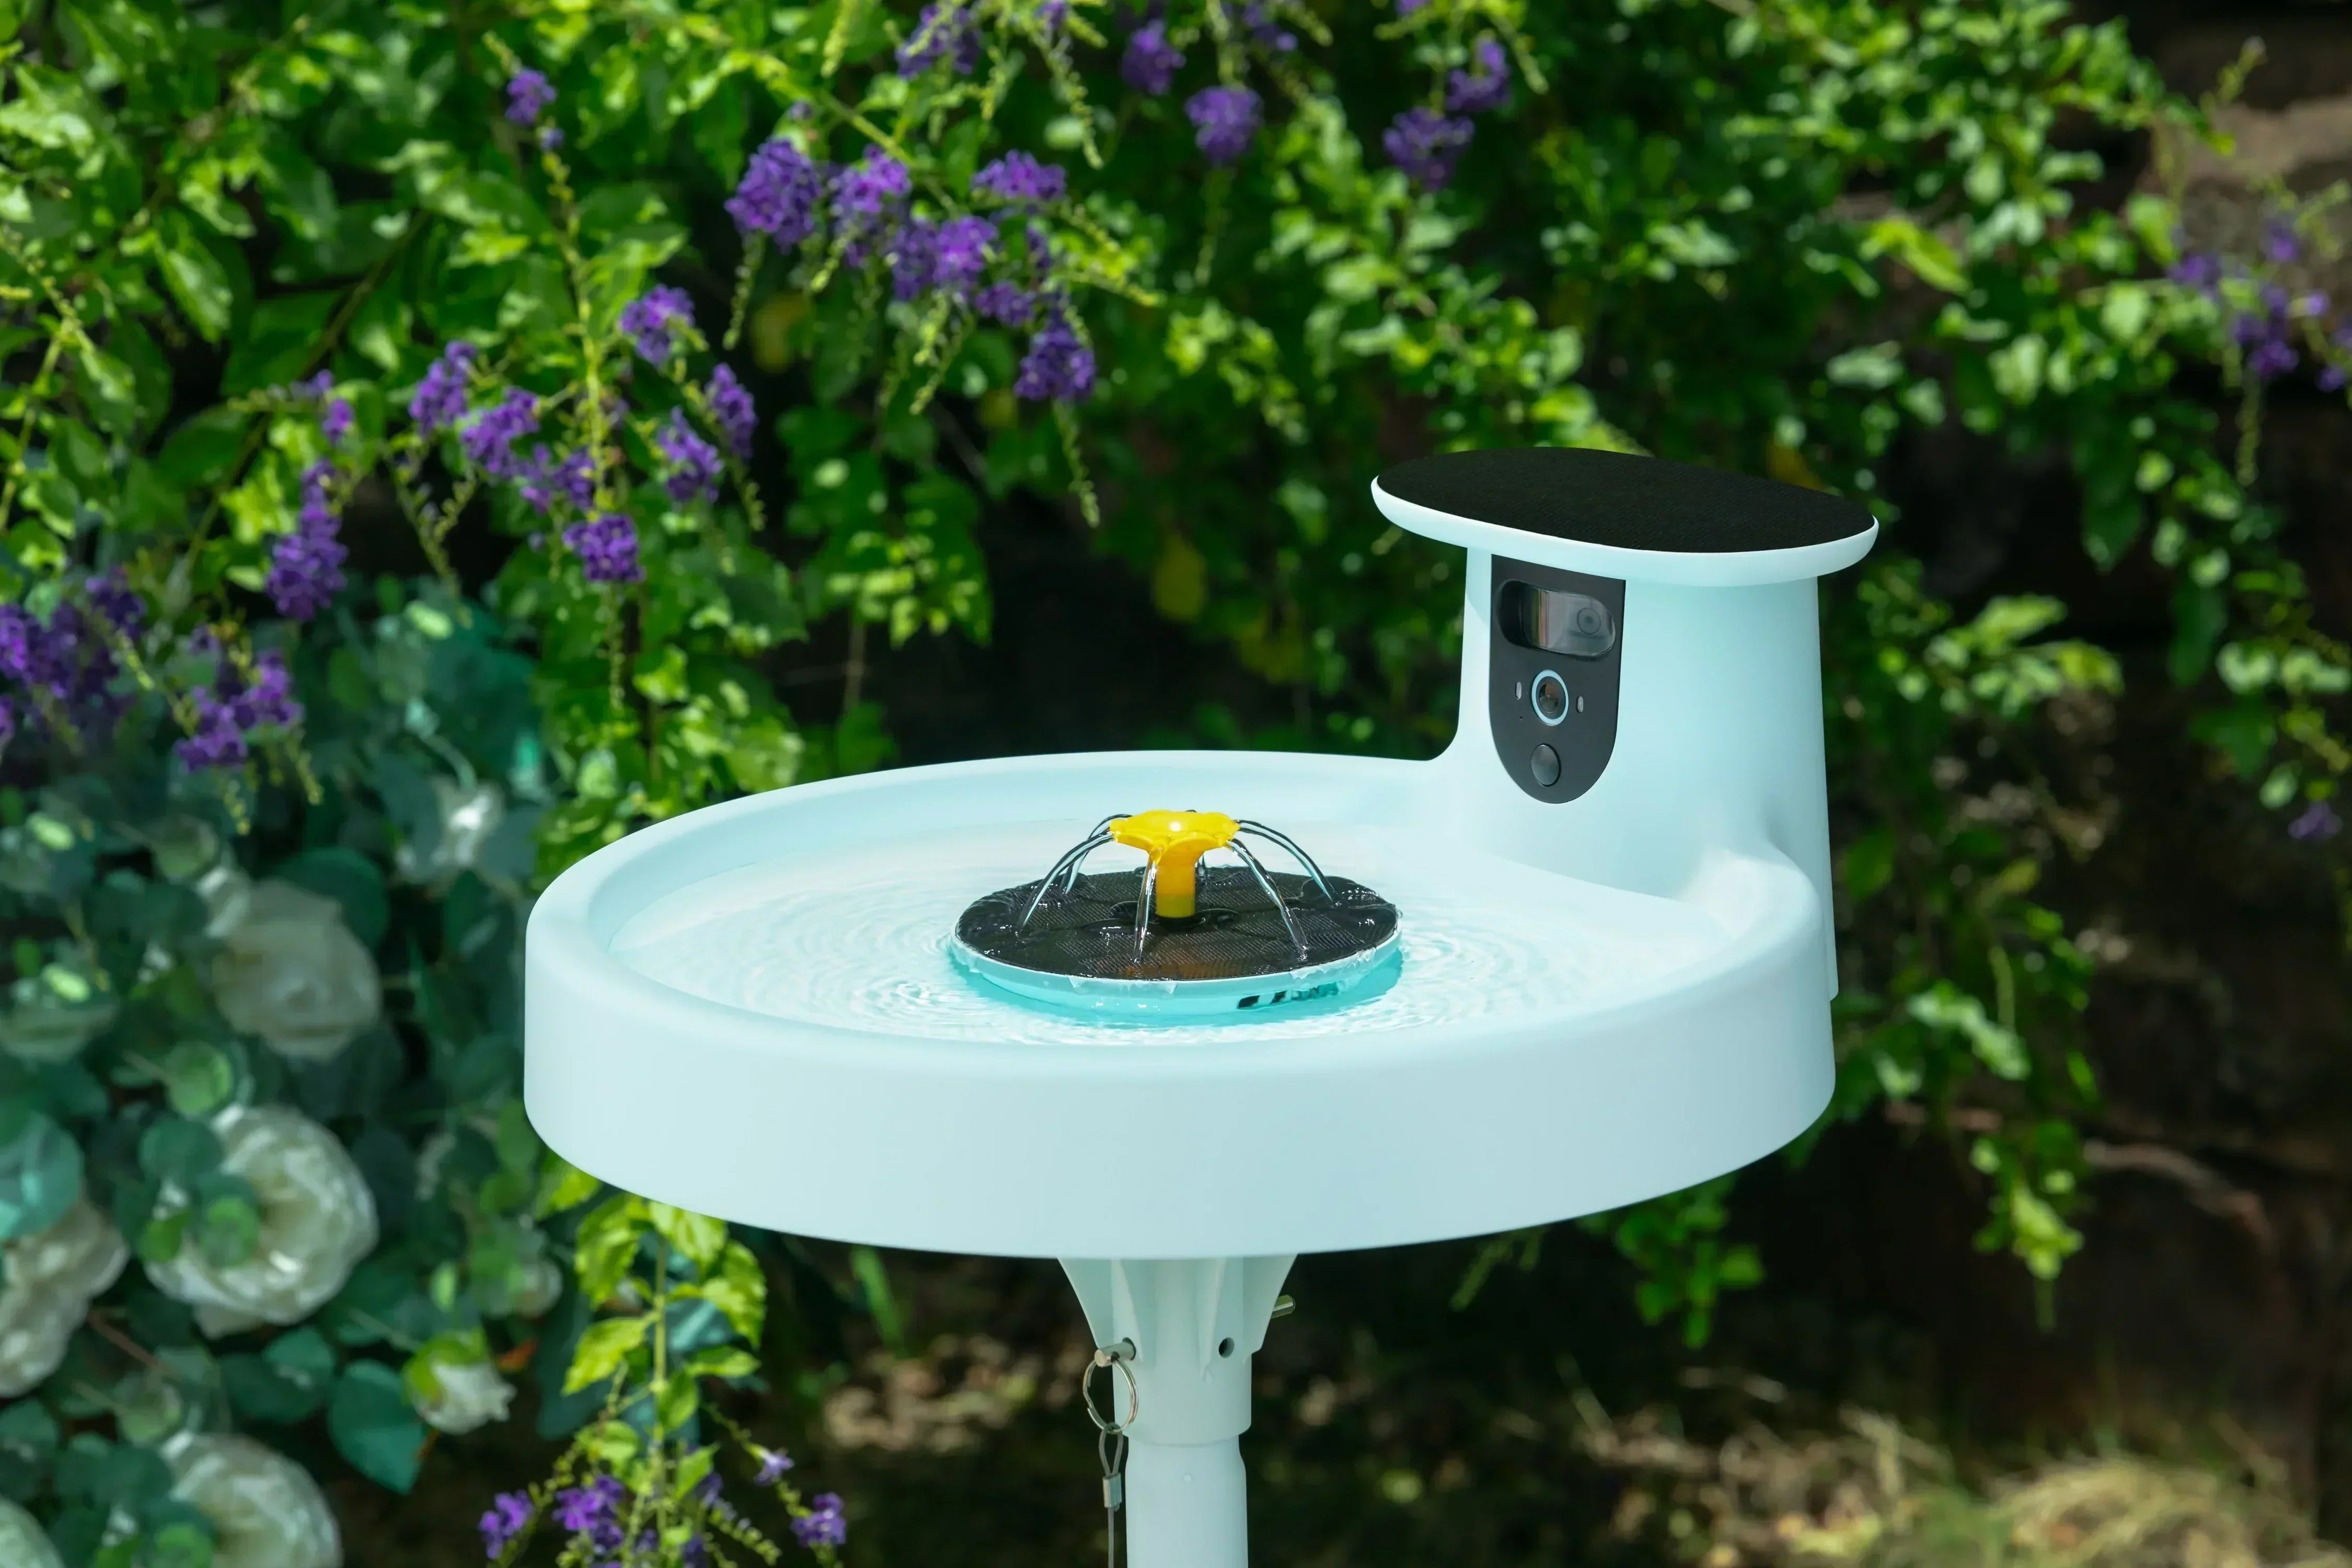
Step-by-step Testing Process
Testing a bird bath heater ensures it works well and keeps water from freezing. This process helps protect birds during cold days. Follow each step carefully to check the heater’s safety and performance. Proper testing prevents damage and saves energy.
Setting Up The Heater In The Bath
Place the heater at the bottom of the bird bath. Make sure it sits flat and does not touch any sides. Fill the bath with water up to the heater’s recommended level. Avoid overfilling or underfilling to prevent malfunctions.
Connect the heater to a power source with a ground fault circuit interrupter (GFCI). This step is important for safety. Check that the power cord is dry and undamaged before plugging it in.
Monitoring Temperature And Functionality
Turn on the heater and observe the water temperature. Use a waterproof thermometer to measure the water every 10-15 minutes. The heater should maintain water just above freezing point.
Watch for any unusual noises or smells from the heater. These signs may indicate a problem. Also, check that the heater does not overheat or shut off unexpectedly.
Test the heater in different weather conditions if possible. This helps confirm it works well over time. Record your observations for future reference or maintenance needs.
Troubleshooting Common Issues
Troubleshooting common issues with a bird bath heater ensures your feathered friends stay warm. Understanding typical problems helps you fix the heater quickly. Regular checks keep the heater working properly throughout winter.
Identifying Heating Failures
Check if the heater turns on. No heat means a power problem or broken element. Look for visible damage like cracks or corrosion. A faulty thermostat can stop heating at wrong temperatures. Use a multimeter to test electrical parts for continuity. Listen for unusual sounds that signal internal issues. Make sure the heater is fully submerged as designed.
Fixes And Maintenance Tips
- Clean the heater regularly to remove dirt and algae.
- Replace damaged wires or plugs immediately.
- Reset or replace the thermostat if it malfunctions.
- Store the heater indoors during summer to prolong life.
- Test the heater in warm water to check if it activates.
- Follow the manufacturer’s safety instructions for repairs.
- Inspect the power source and circuit for faults.
Credit: www.birdfy.com
Frequently Asked Questions
How Do I Check If My Bird Bath Heater Works?
Plug in the heater and observe if it warms the water. Use a thermometer to measure temperature changes. Ensure the heater’s indicator light turns on, signaling proper function. Test in cold conditions to confirm consistent heating performance.
What Tools Are Needed To Test A Bird Bath Heater?
You need a thermometer, power source, and a container of water. A multimeter can help check electrical continuity. These tools ensure accurate testing of the heater’s functionality and safety before installation.
How Often Should I Test My Bird Bath Heater?
Test your heater at least once before winter. Periodic checks during cold months ensure it works effectively. Regular testing prevents water from freezing, protecting birds and maintaining heater performance.
Can I Test The Heater Without Water?
No, testing without water can damage the heater. Bird bath heaters are designed to operate submerged. Always test in water to avoid overheating and potential failure.
Conclusion
Testing a bird bath heater is simple and important. Check the heater’s temperature first. Make sure it keeps water from freezing. Watch for any signs of damage or wear. Keep the heater clean and dry when not in use. Regular checks help birds stay safe and warm.
A working heater means happy, healthy birds in winter. Take small steps to test often. You’ll enjoy seeing birds visit your bath all season.