Are you worried about your feathered friends struggling to find fresh water during cold winter days? A homemade bird bath heater could be the perfect solution to keep the water from freezing and help your backyard birds stay healthy and hydrated.
In this guide, you’ll discover simple, budget-friendly steps to create your own bird bath heater using materials you might already have at home. By the end, you’ll have a safe and effective way to support wildlife right outside your window.
Ready to make a difference for the birds this winter? Let’s get started!

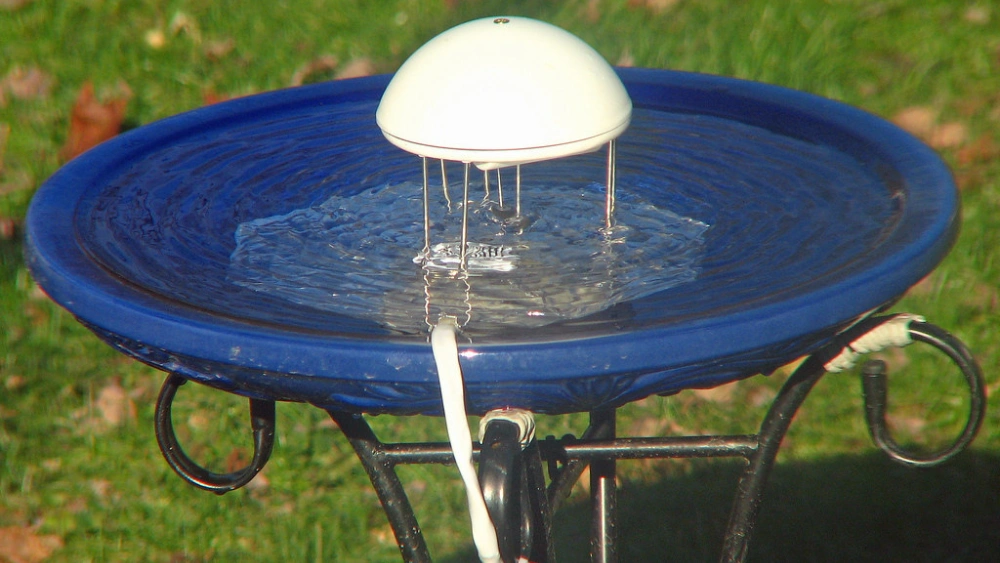
Credit: www.youtube.com
Choosing Materials
Choosing the right materials is key to building a safe and effective bird bath heater. The materials must withstand water and outdoor conditions. They should keep birds safe from harm. Careful selection helps your heater last through cold seasons. Focus on three main areas: heating elements, containers, and power sources.
Selecting Safe Heating Elements
Pick heating elements designed for water use. Avoid anything that can overheat or cause electric shocks. Low-voltage heating pads or aquarium heaters work well. These elements provide gentle warmth, enough to keep water from freezing. Make sure the heating element is fully waterproof and has safety certifications.
Waterproof Containers
Use containers that resist water damage and cold temperatures. Plastic tubs or heavy-duty buckets work best. Avoid metal containers that can get too cold or damage the heating element. The container should hold water securely without leaks. It must be stable to stop tipping when birds land.
Power Sources
Choose power sources that are safe for outdoor use. Solar panels offer a green and free energy option. Low-voltage electric cords with outdoor rating are also good. Battery-powered heaters give flexibility but need frequent charging. Always protect power connections from water and weather damage.
Credit: www.hgtv.com
Assembling The Heater
Assembling the heater is a key part of creating a homemade bird bath heater. This process ensures the heater works safely and effectively to keep water from freezing. Careful assembly helps the heater last longer and protect the birds.
Preparing The Base
Choose a sturdy, flat base that fits under the bird bath. Use a waterproof material like plastic or metal. Clean the base well to remove dust and dirt. This helps the heater stay stable and secure.
Check the size of the heating element. Make sure the base can hold it without tipping. Adding small rubber feet under the base improves grip and keeps it from sliding on smooth surfaces.
Installing The Heating Element
Select a low-watt heating element safe for outdoor use. Place it on the prepared base. Secure it using heat-resistant tape or clips. Avoid loose wires or parts that can move or touch water directly.
Keep the heating element away from direct contact with water. Use a protective barrier like a mesh screen. This prevents damage and keeps birds safe from electrical parts.
Sealing And Insulating
Seal all gaps around the heating element with waterproof silicone. This stops water from reaching electrical parts. Let the silicone dry fully before use.
Wrap insulation material around the base and wires. Use foam or fiberglass for good heat retention. This keeps the heater efficient and lowers electricity use.
Check all seals and insulation for cracks or holes. Fix any damage before placing the heater in the bird bath. Proper sealing ensures safety and long-lasting warmth.
Installing The Bird Bath Heater
Installing your homemade bird bath heater correctly is essential for keeping the water warm and safe for your feathered visitors. This step ensures the heater works efficiently without causing any damage or hazard. Let’s focus on how to position the heater, secure the power connections, and test everything before you call it done.
Positioning In The Bird Bath
Place the heater where it can warm the water evenly without disturbing the birds. The best spot is usually at the bottom or along the side of the bath, submerged but not visible enough to scare the birds away.
Make sure it’s fully covered by water to prevent overheating. Avoid placing it near the edge where water might splash out, leaving the heater exposed. Have you checked if your heater fits snugly without floating or moving around?
Securing Power Connections
Safety first: use waterproof connectors or seal the connections with electrical tape to keep moisture out. Position the power cable so it doesn’t hang loosely or become a tripping hazard for pets or people.
Consider using a ground fault circuit interrupter (GFCI) outlet to reduce the risk of electric shock. If you’re running cables outdoors, protect them with conduit or cable covers. How confident do you feel about keeping electricity safe around water?
Testing For Safety
Before letting the birds enjoy the heated bath, plug in the heater and monitor it for about 30 minutes. Check the water temperature regularly to ensure it’s warm but not too hot.
Look for any signs of electrical issues like sparks or unusual smells. If anything seems off, unplug immediately and reassess your setup. Would you be comfortable leaving the heater running unattended after this test?
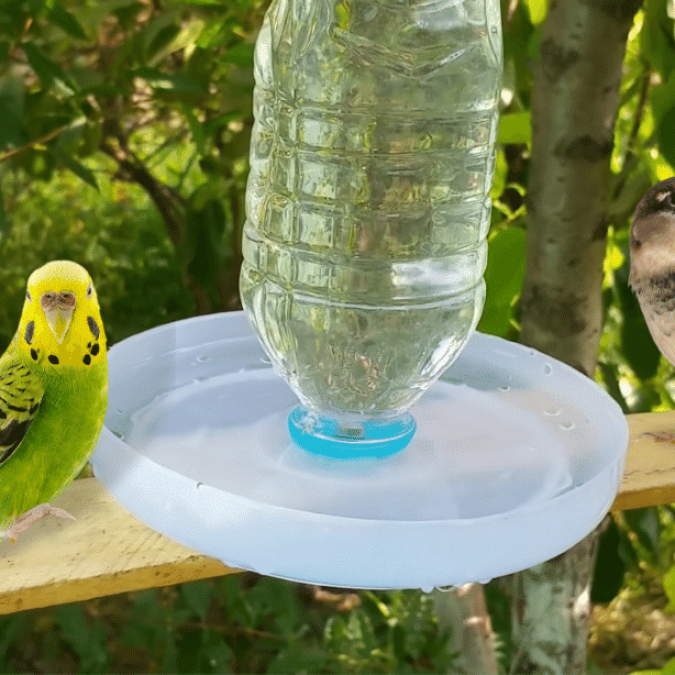
Credit: diyjoy.com
Maintaining And Troubleshooting
Keeping your homemade bird bath heater in top shape ensures it works efficiently and safely throughout the colder months. Regular care not only prolongs the heater’s life but also keeps your feathered visitors happy and healthy. Let’s look at some practical ways you can maintain and troubleshoot your bird bath heater.
Regular Cleaning
Clean your bird bath heater at least once a week to prevent algae buildup and dirt accumulation. Use a soft brush or cloth with mild soap and warm water to gently scrub the surface. Avoid harsh chemicals that could harm birds or damage the heater’s components.
Rinse thoroughly to remove any soap residue, then dry the heater completely before placing it back. This simple routine keeps water fresh and stops blockages that could reduce heating efficiency.
Checking For Damage
Inspect the heater regularly for cracks, exposed wires, or corrosion. Even minor damage can cause malfunction or pose a risk to birds and your home. Pay close attention to the power cord—any fraying or cuts require immediate replacement.
Don’t forget to check the thermostat and heating element for signs of wear. If something looks off, it’s better to fix or replace the part before the cold sets in fully. Have you ever noticed a small crack that led to bigger problems? Catching issues early saves time and money.
Troubleshooting Common Issues
If your heater isn’t warming up, first confirm it’s plugged in and the outlet works. Next, check the thermostat settings; sometimes it’s set too low or accidentally turned off. If the heater still fails, test the heating element with a multimeter to see if it’s functioning properly.
Another issue is uneven heating or water freezing despite the heater running. This could mean the heater is too small for your bird bath size or placed incorrectly. Try repositioning it or adding insulation around the bath to improve performance.
Have you experienced unexpected heater shutdowns? Overheating sensors or moisture inside electrical parts might be the cause. Dry the unit carefully and consider adding a waterproof cover for protection.
Frequently Asked Questions
How Do I Make A Homemade Bird Bath Heater?
To make a bird bath heater, use a waterproof submersible heater or heating cable. Secure it safely under the water surface to prevent freezing and keep birds warm during cold weather.
What Materials Are Needed For A Bird Bath Heater?
You need a waterproof submersible heater or heating cable, waterproof tape, power source, and a bird bath container. Ensure all materials are safe and weather-resistant for outdoor use.
Can I Use A Diy Bird Bath Heater Safely?
Yes, if you use waterproof, low-voltage heating elements and follow safety guidelines. Avoid electric shocks and ensure the heater is designed for outdoor, wet environments.
Why Add A Heater To My Bird Bath?
A heater prevents water from freezing in winter. It provides birds with fresh water year-round, helping them stay hydrated and healthy during cold months.
Conclusion
Creating a bird bath heater at home is simple and rewarding. Birds stay hydrated and warm, even in cold months. Using basic tools, you can help local wildlife. This project saves money and provides enjoyment. Watch as birds visit your heated bath.
It’s a wonderful way to connect with nature. Plus, it’s a fun activity for the family. Enjoy the sights and sounds of happy birds. Your yard becomes a winter haven. Start today and make a difference for your feathered friends.
Birds need you, and they will thank you with their presence.